PETE T's Hearse BUILD
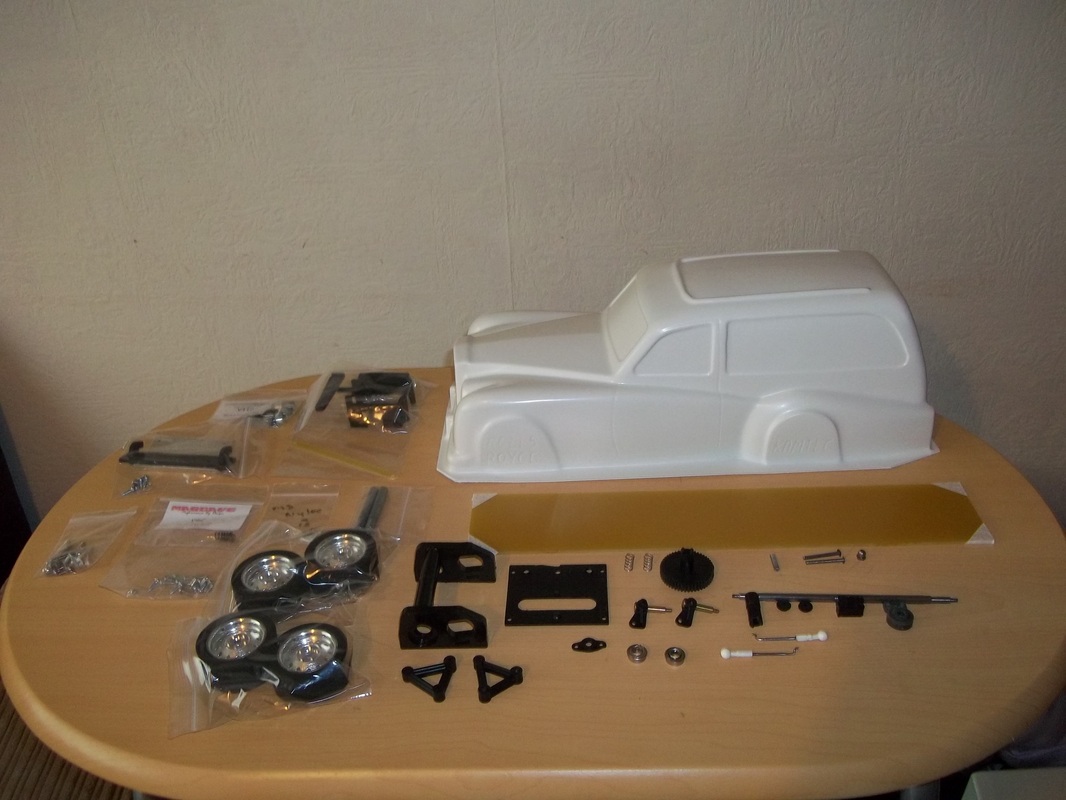
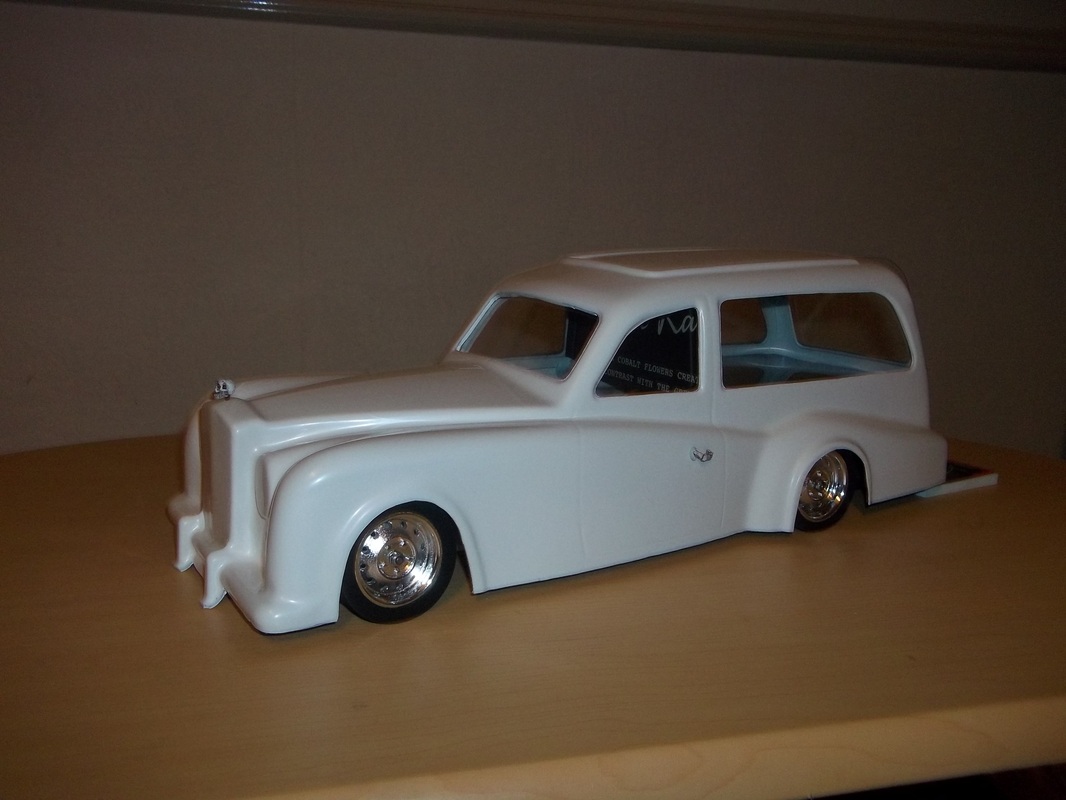
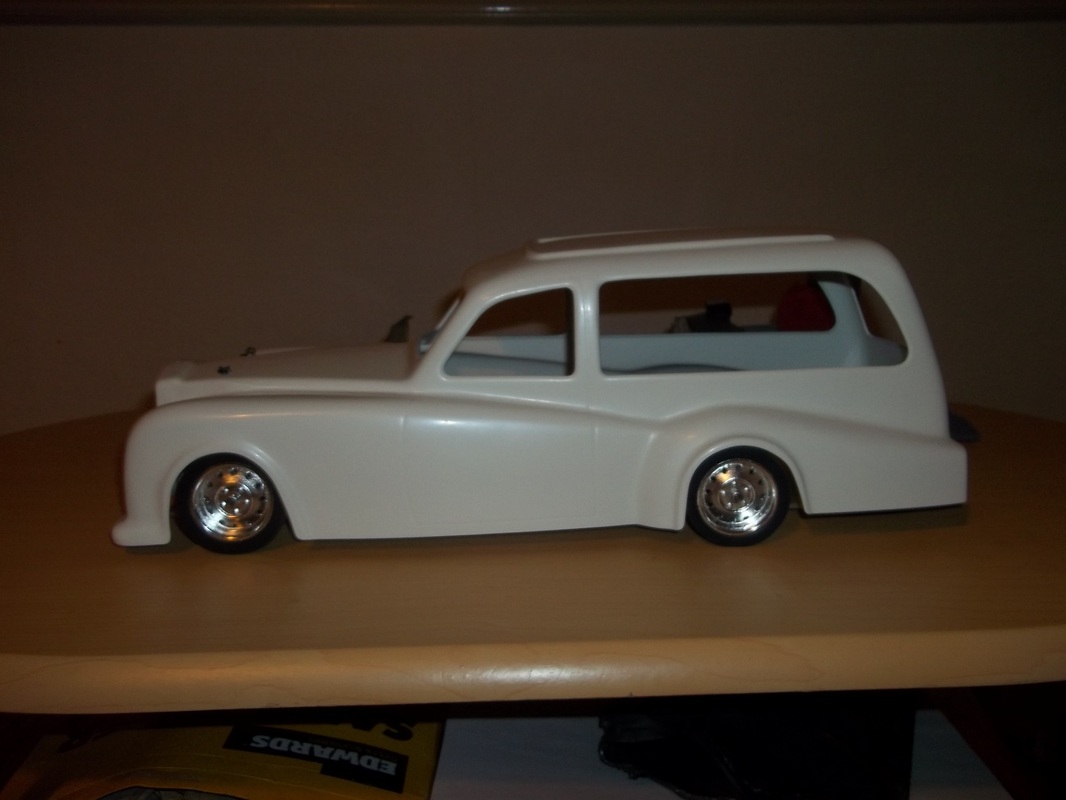
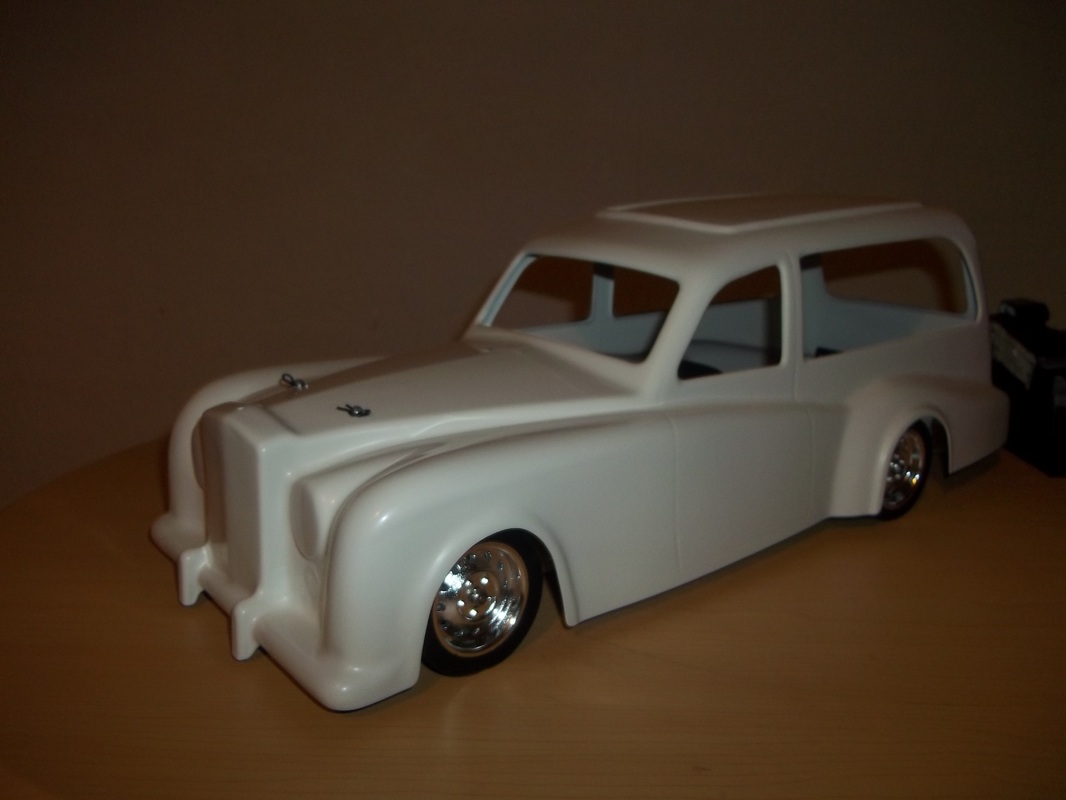
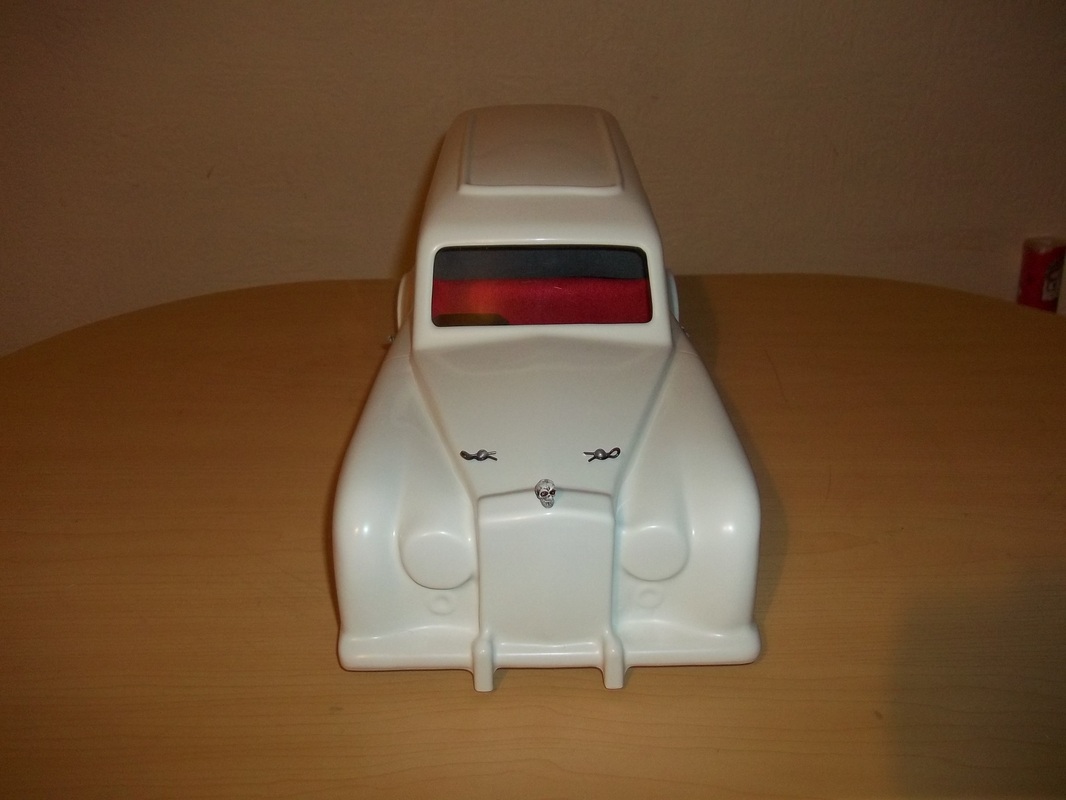
This is my wife's long wheel base V12 build, she wanted a hearse shell so I decided to build an LWB version using Kamtecs rolls Royce shell rather than a standard size hearse shell. I'm going to be building the chassis using all genuine Mardave parts. The total cost for the build is around £60 not including paint and custom body shell accessories.
|
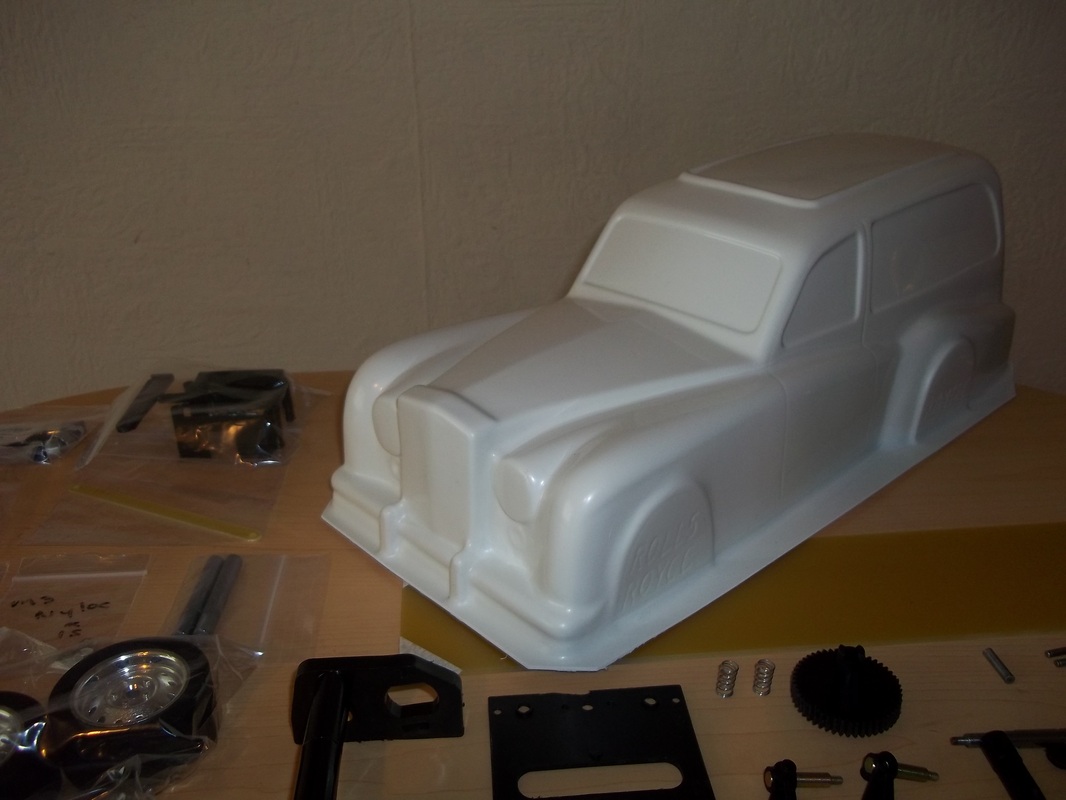
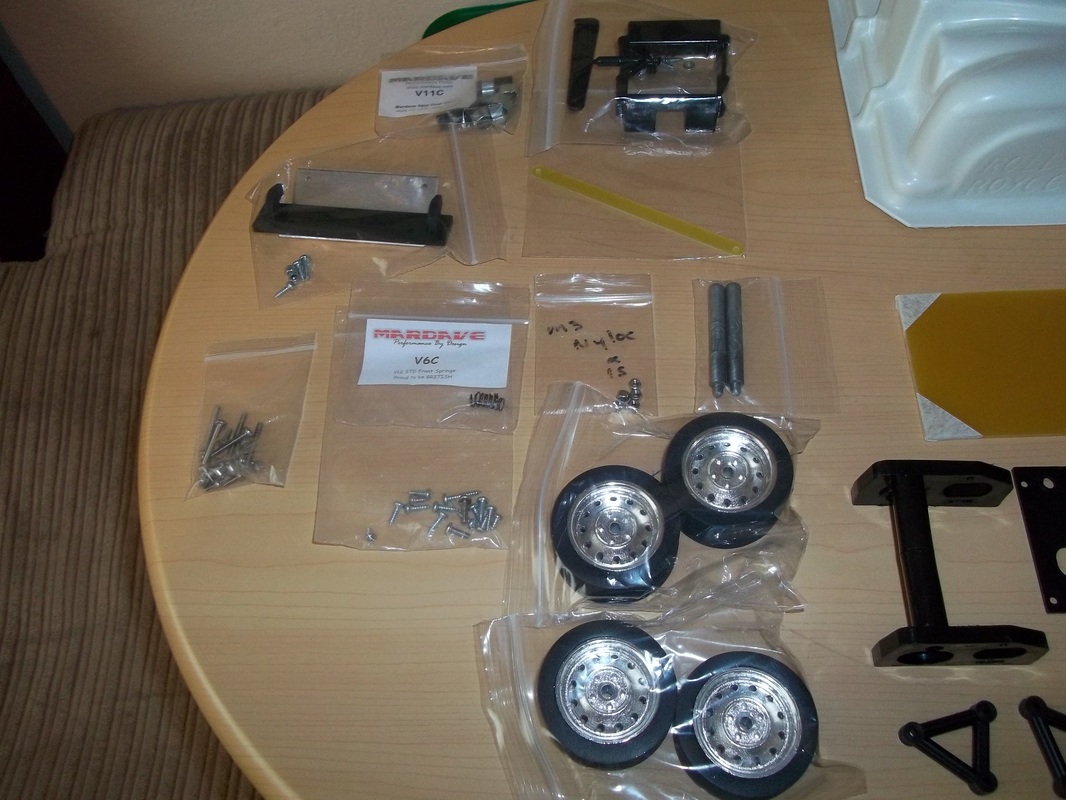
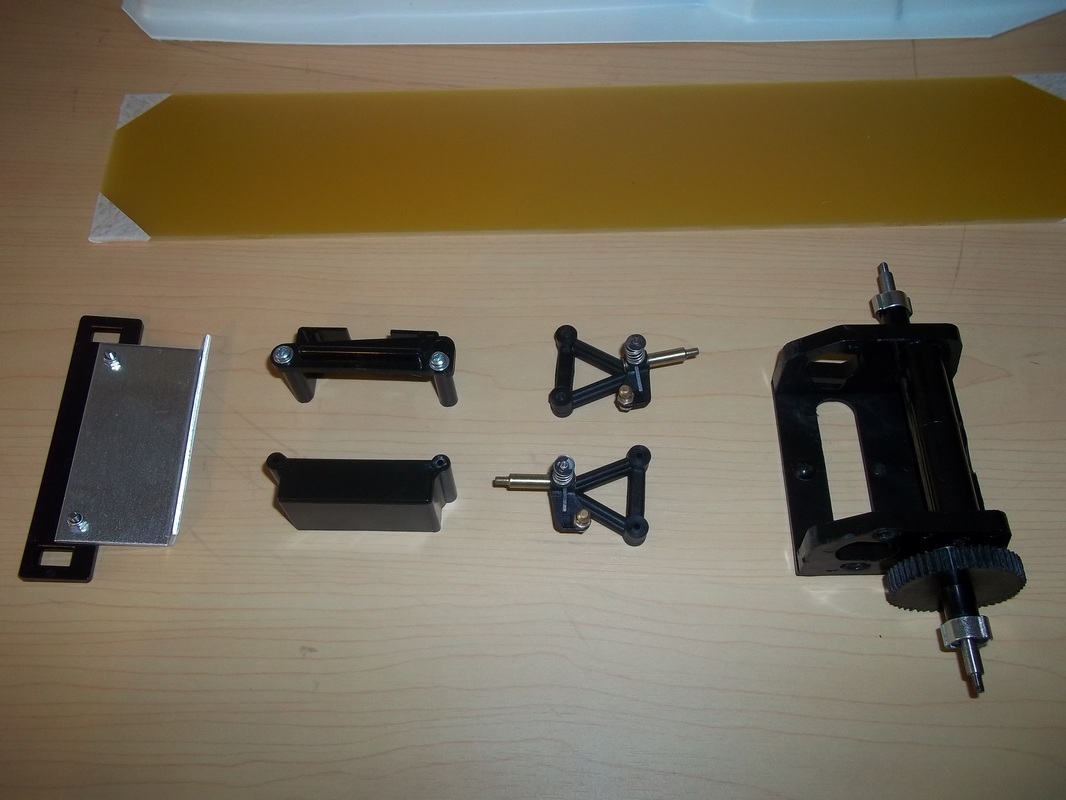
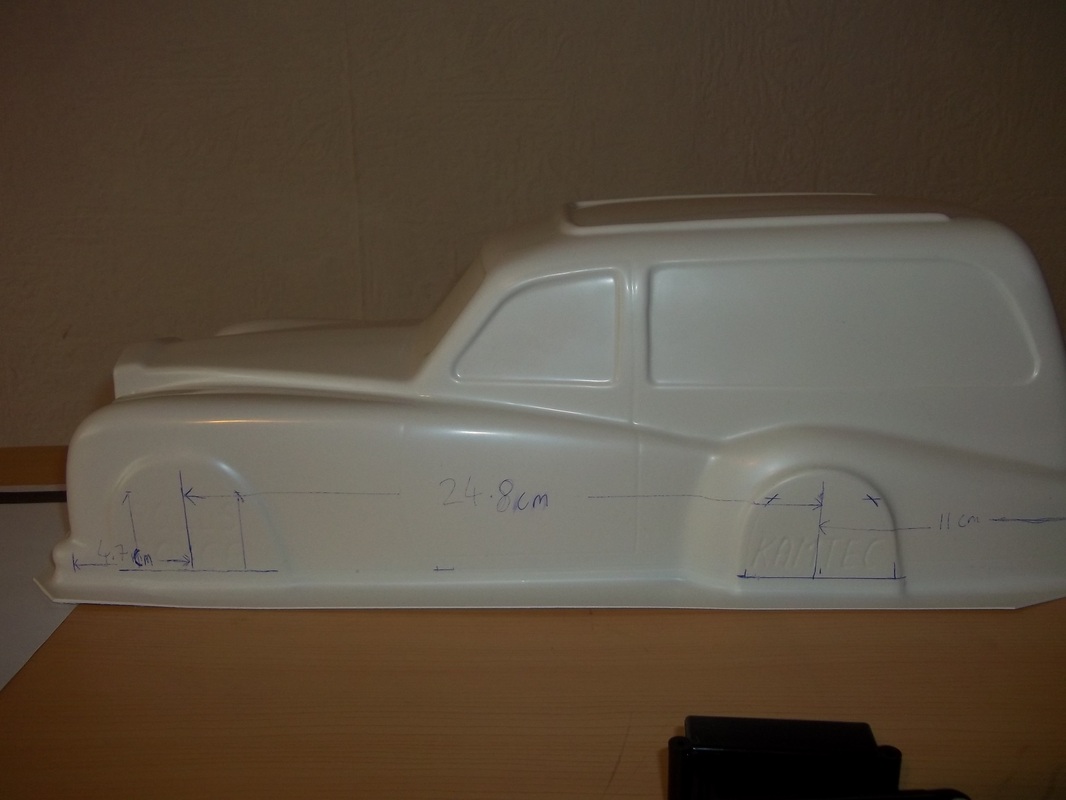
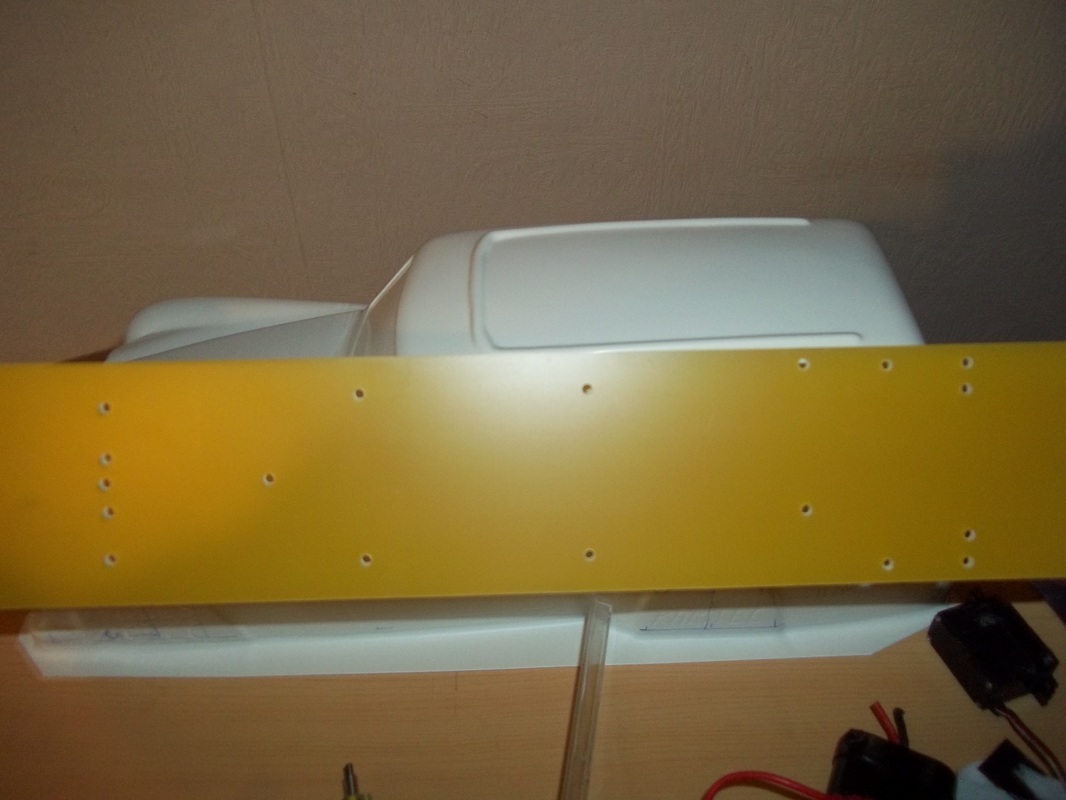
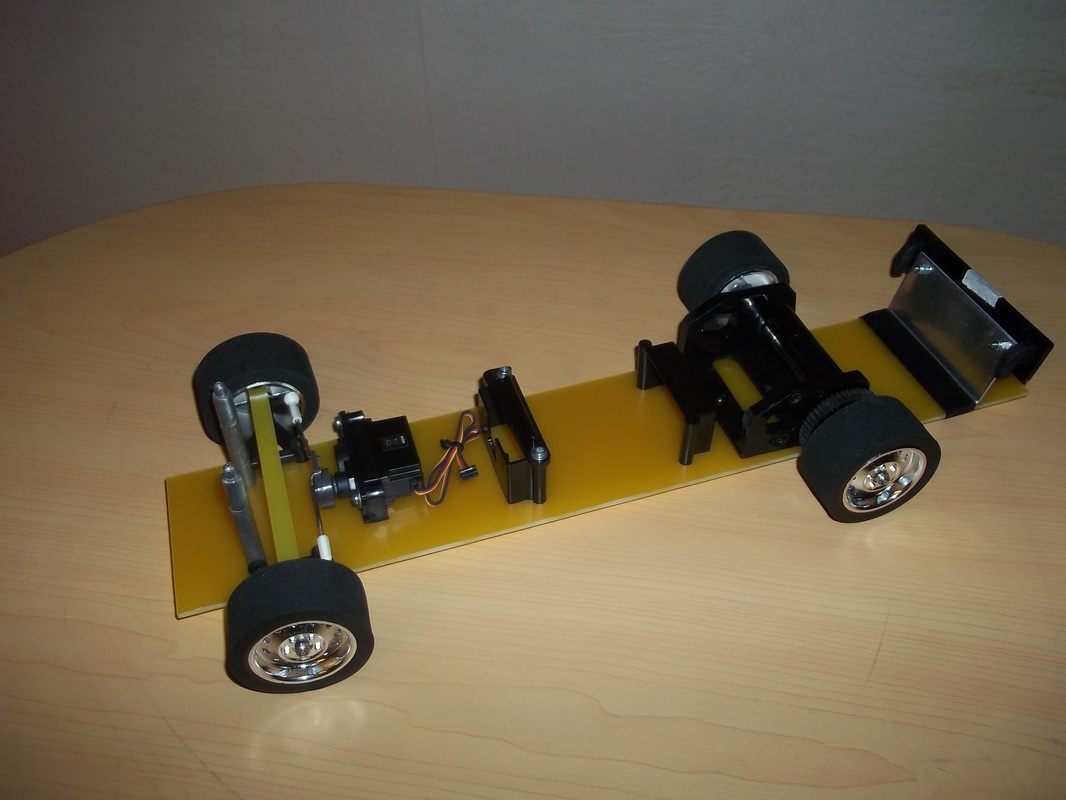
These first four pictures show all the parts needed to build a rolling chassis, the hearse is only going to be a shelf queen so I'm not going to fitting any electrics. The wheels are V12 wolf chrome from Mardave with Ufra purple med/soft rear tyres and Ufra pink med fronts. The LWB chassis was brought from E bay The hearse shell is from Kamtec All the other parts are readily available from any Mardave stockist. |
|

|
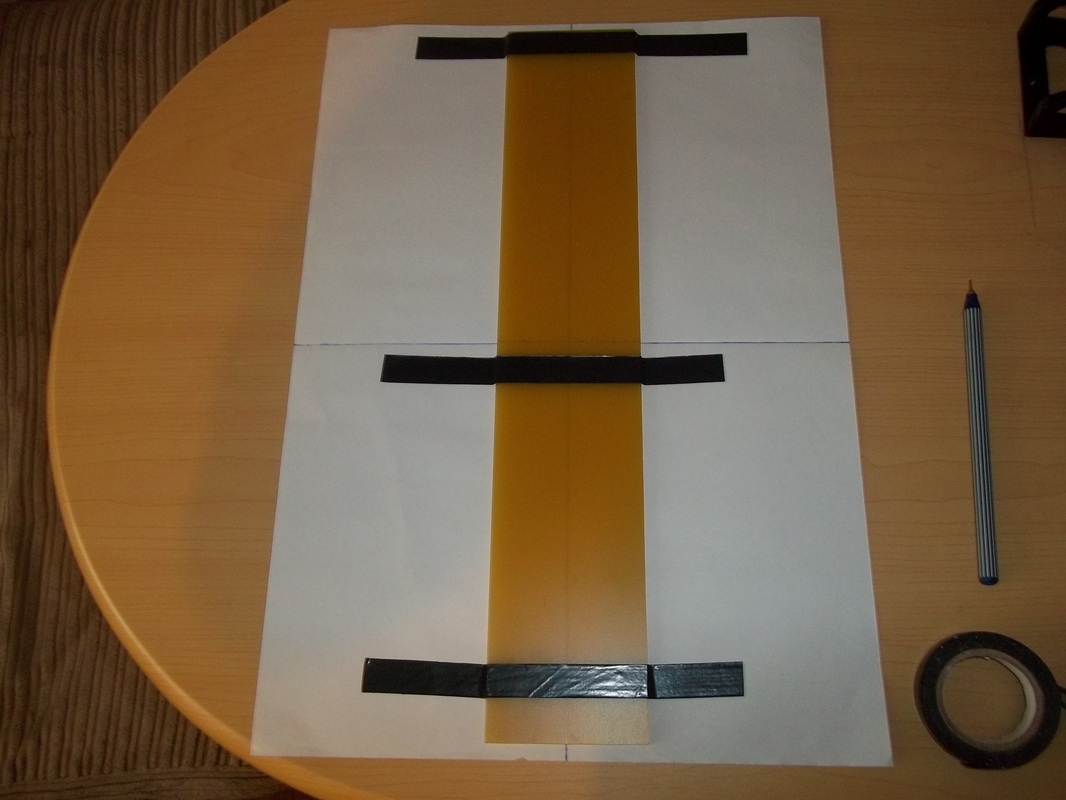
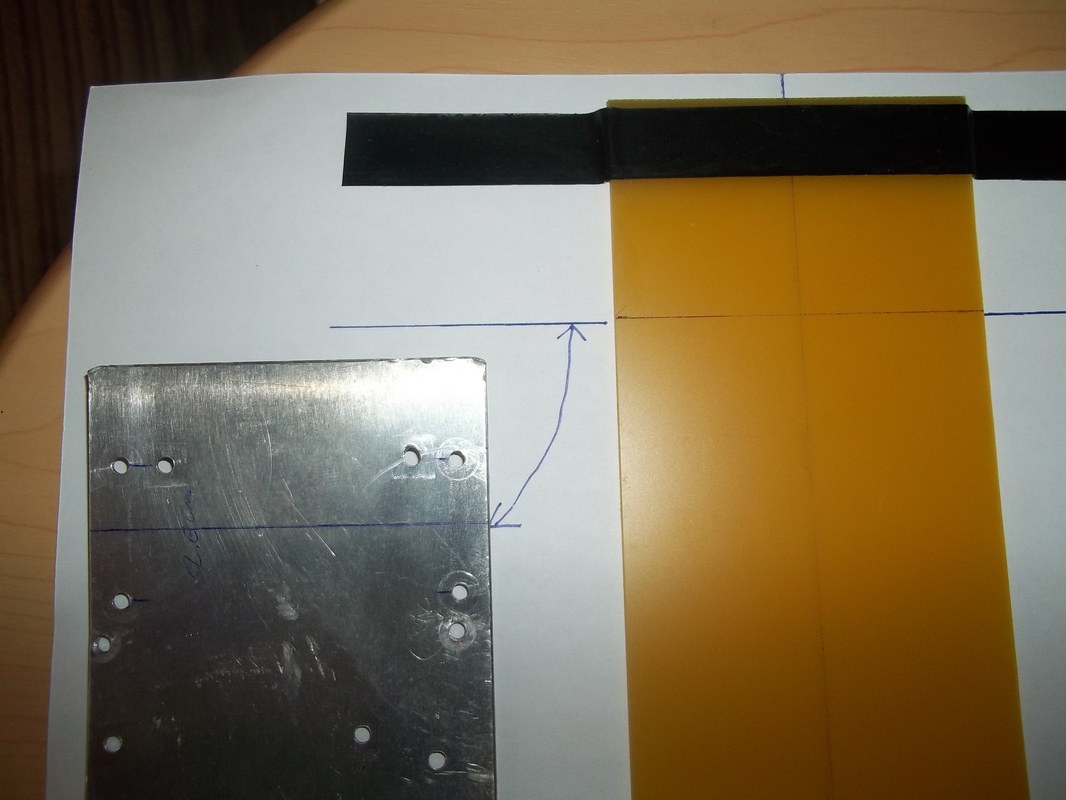
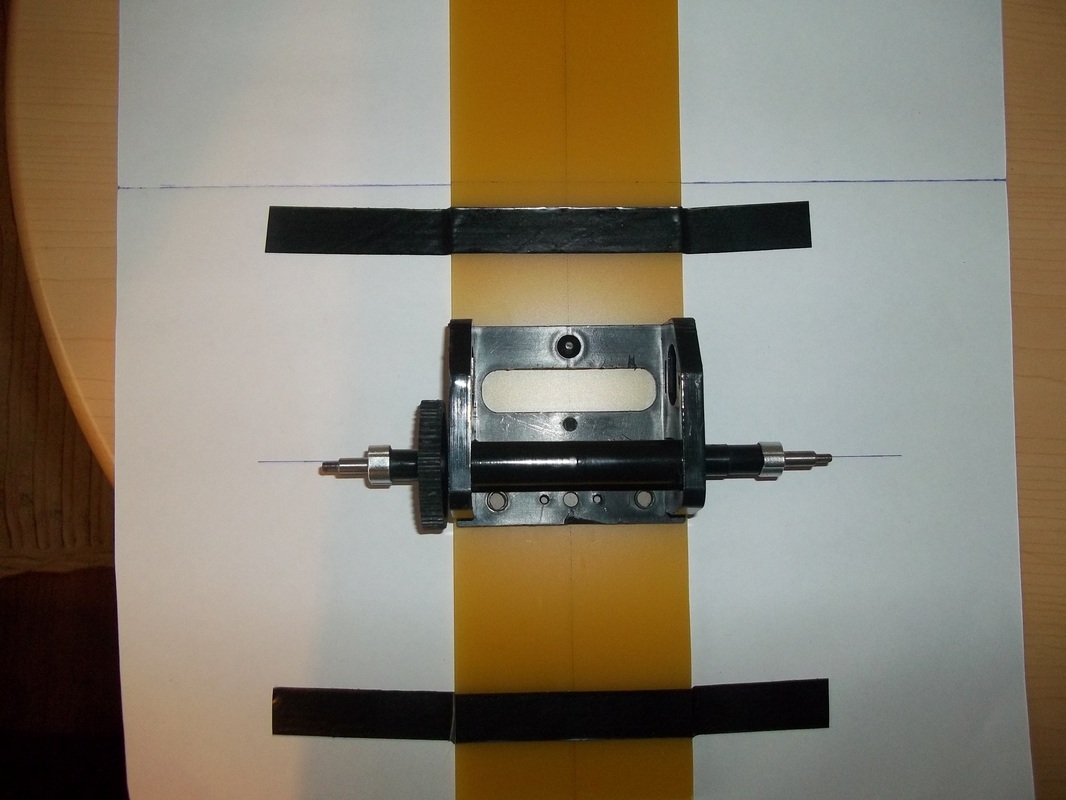
The first thing I'm going to do to build the front end parts ( wishbones, uprights, springs etc ) then the rear motor pod and rear body mounting plate. The next stage is to start measuring out the chassis and body shell, I needed to know where the centre line and middle of the chassis was, I taped the chassis to a large piece of paper to help me see the lines more clearly, I then measured the distances between the centre of the wheel arches from front to rear on the shell so I knew where to place the front wishbones relative to the chassis, I used an old V12 chassis to mark the holes out. |
|
|
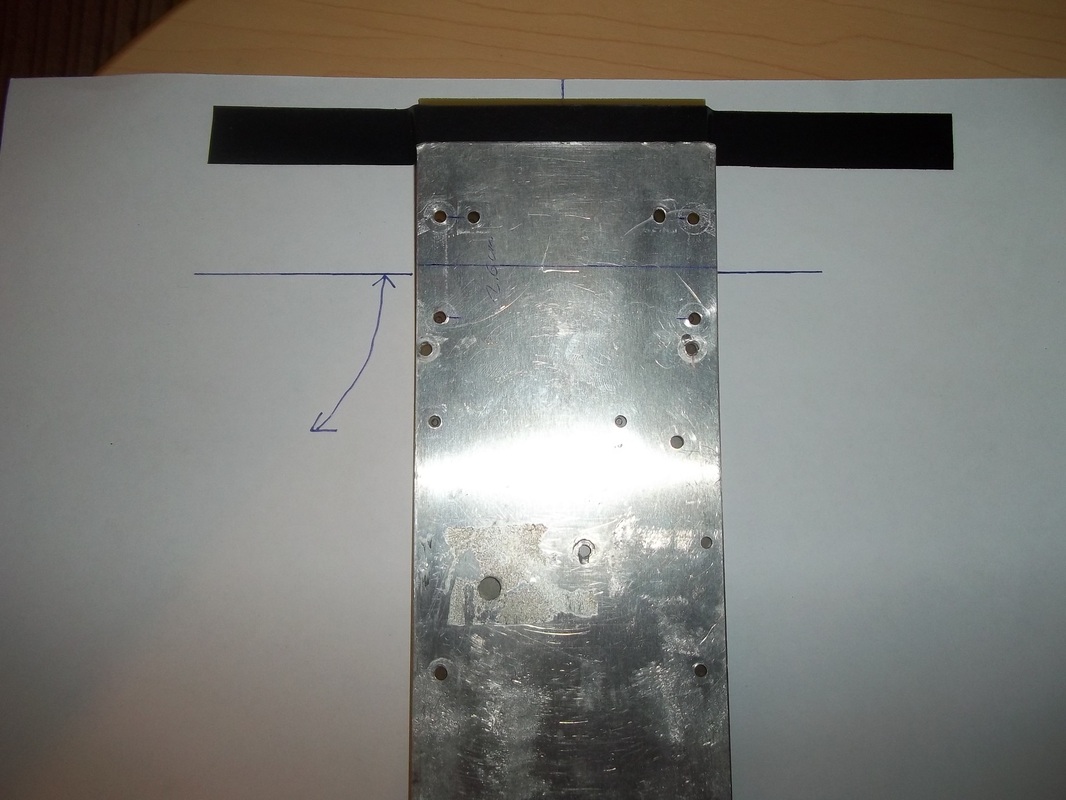
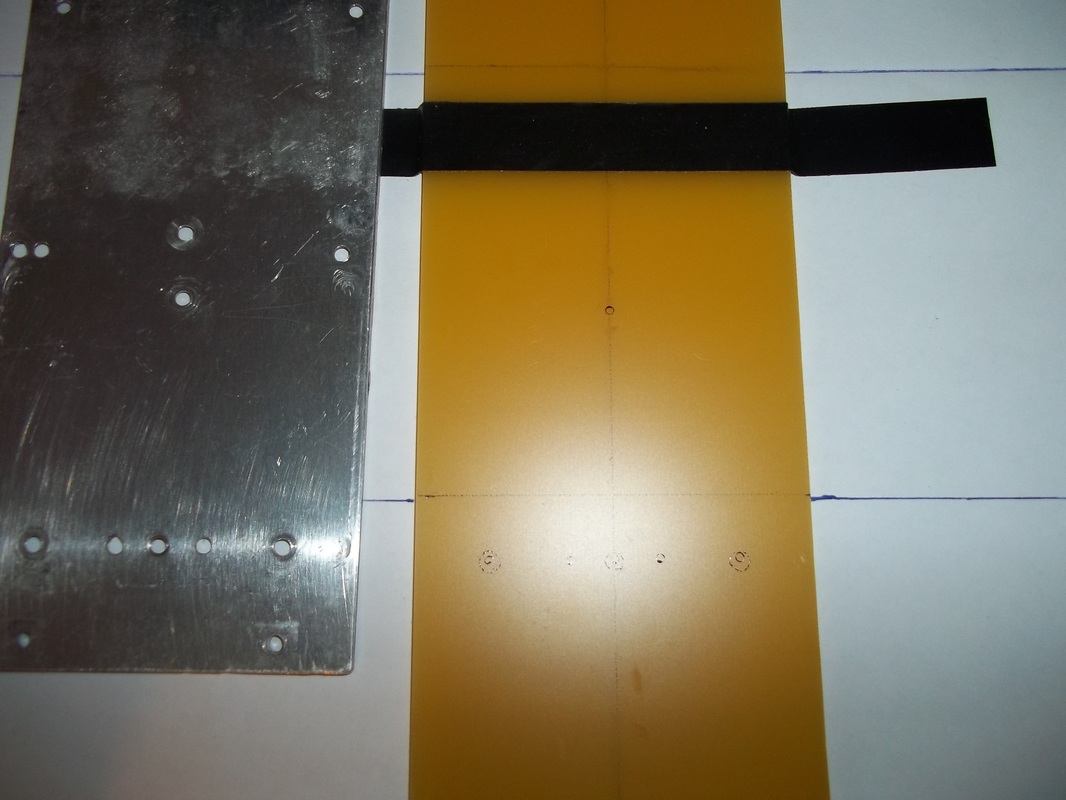
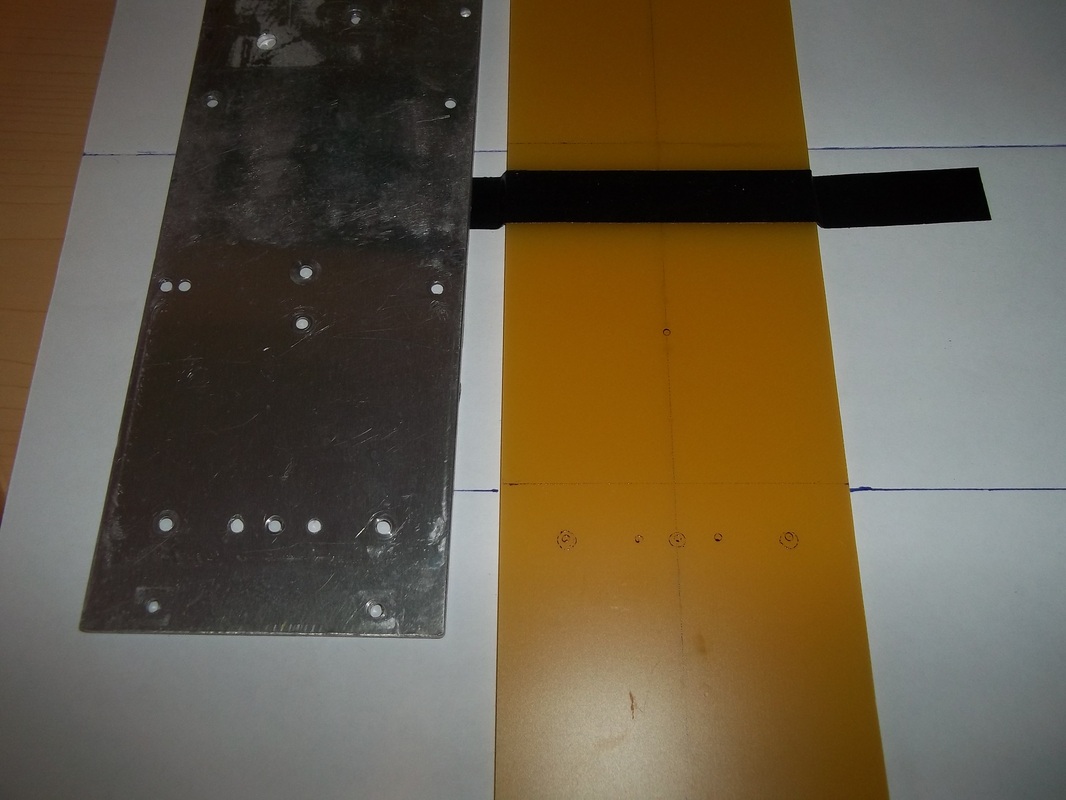
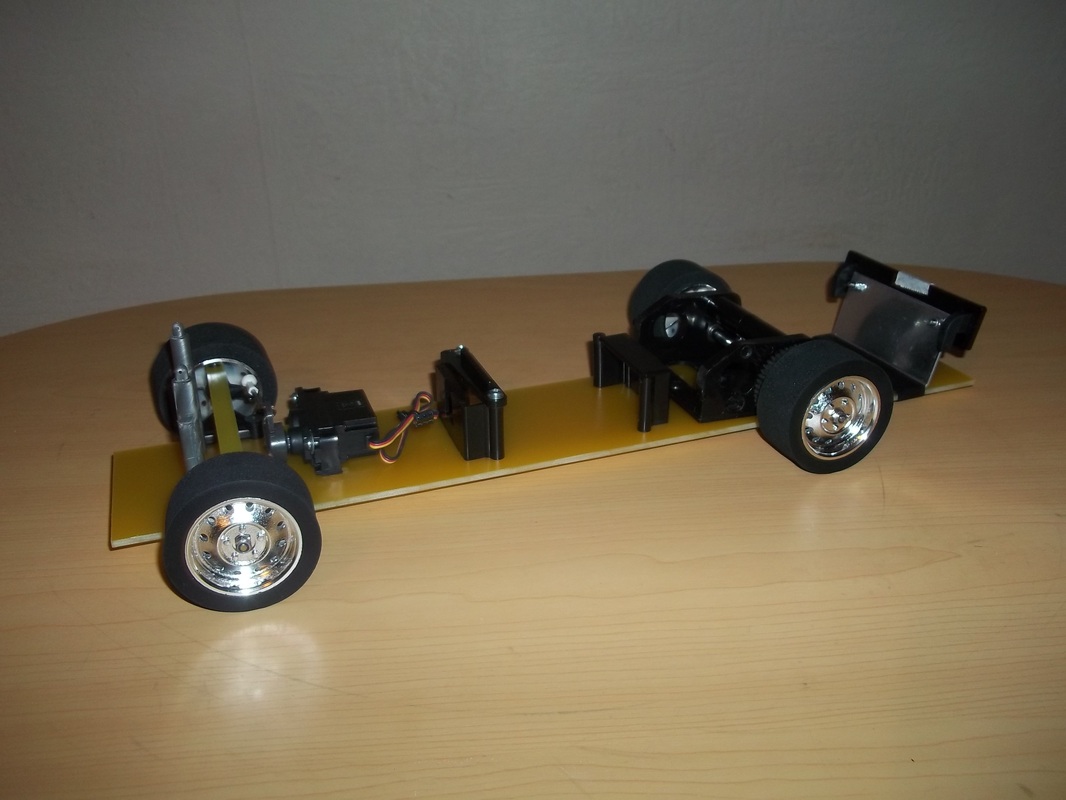
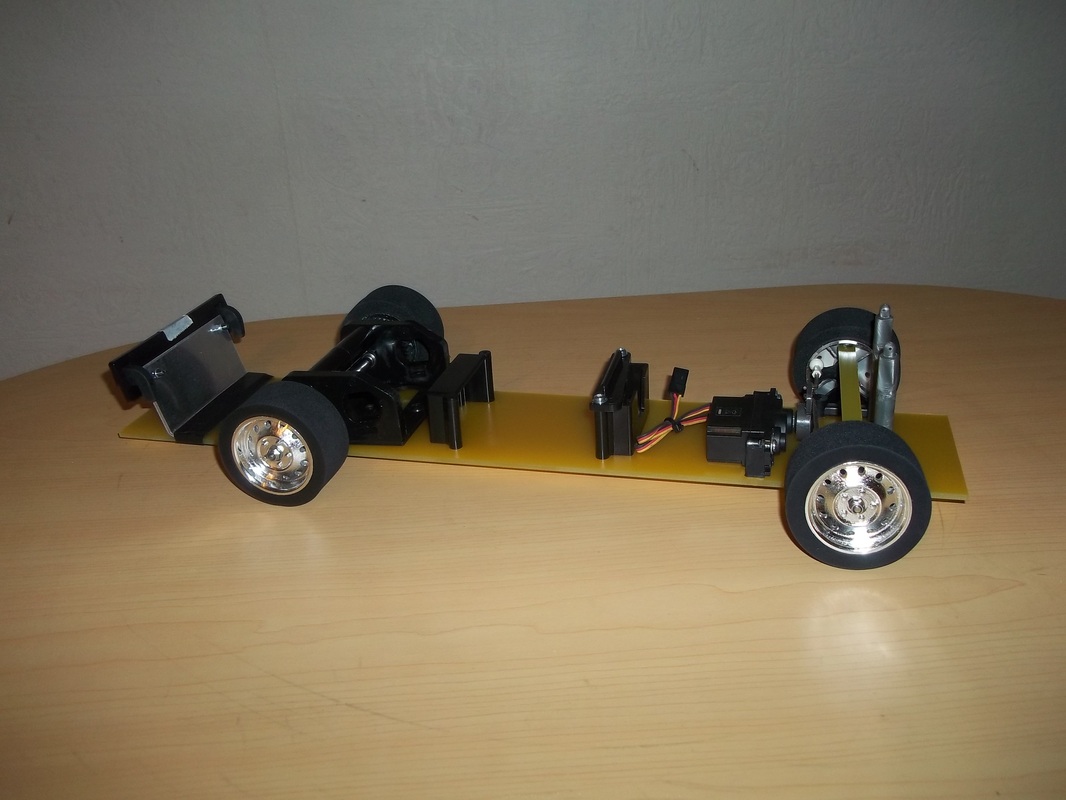
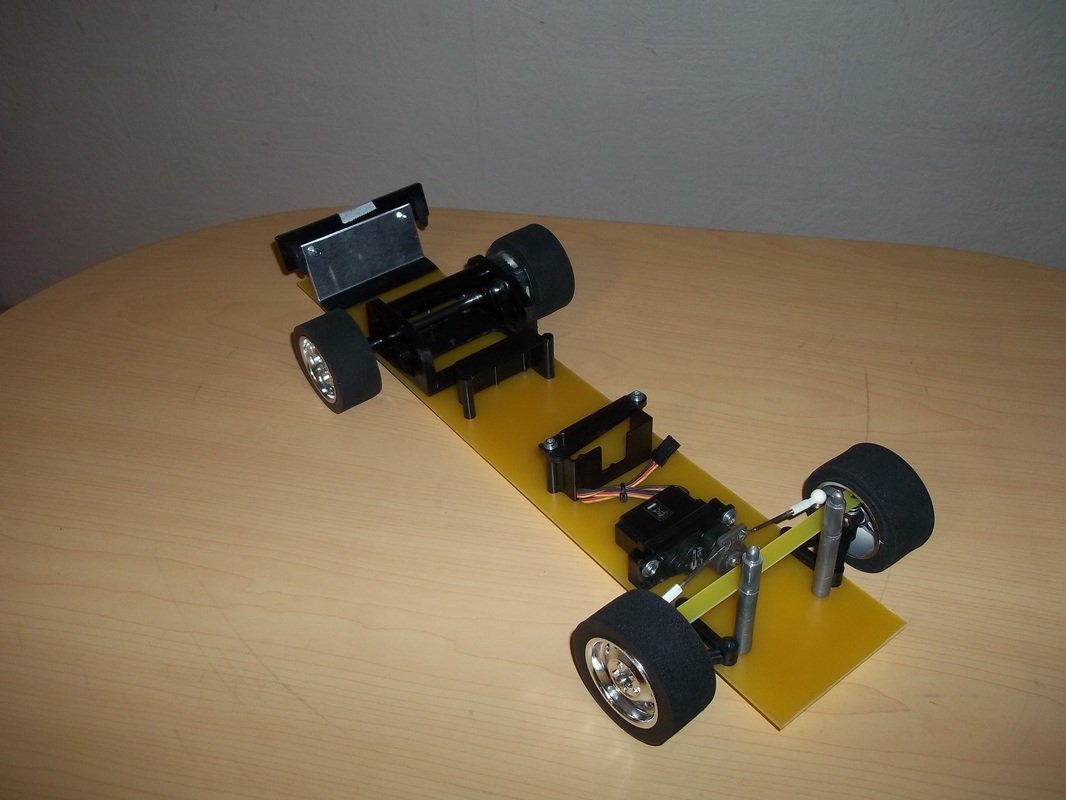
With the measurements taken from the shell I then knew where to place the V12 chassis plate to mark out the holes for the front end and rear motor pod, once the motor pod was put into the correct place I marked out to holes and then placed the chassis plate on top and marked out all the holes needed to mount the rear pod |
|
|
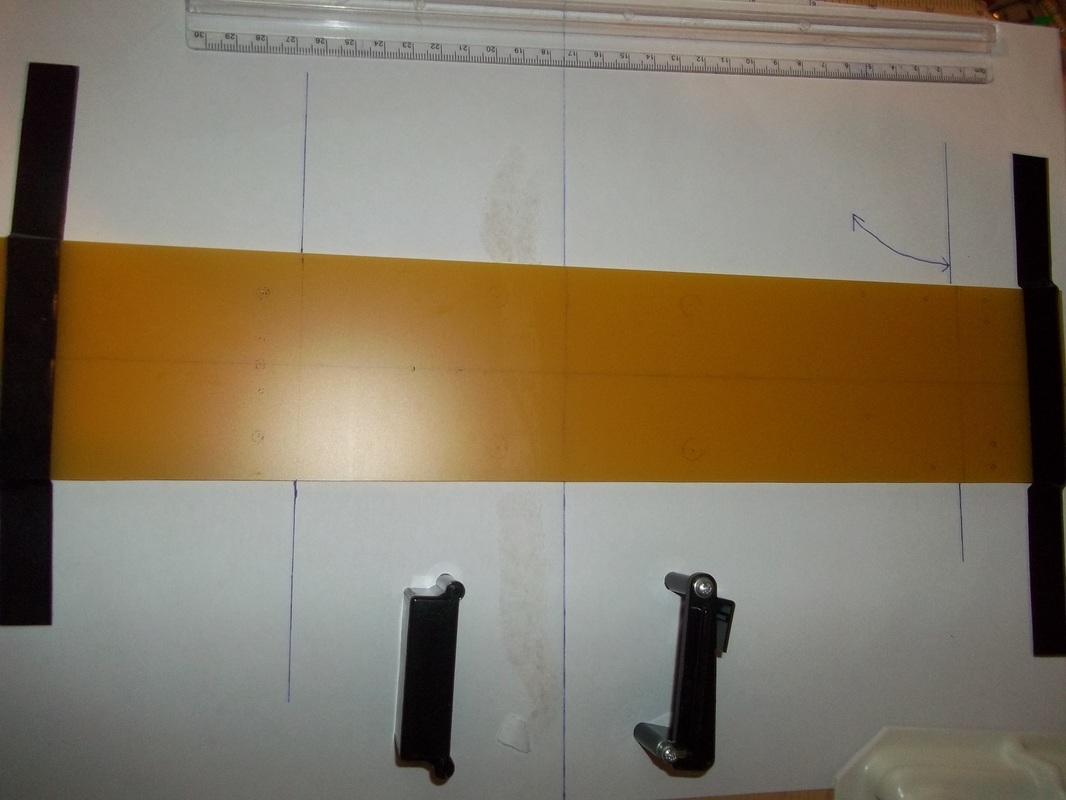
All that's left to do is mark out the battery holders and then drill out all the holes. I used a 3mm drill bit, the chassis material is very easy to drill and cut and it only took a couple of minutes. |
|
|
That's about it now for the chassis, all the parts are built on to it the only part that hasn't been drilled on is the rear mounting plate as I need to mark out where it fits once I have cut and trimmed the body shell to fit. Overall the chassis build took less than an hour to do and I'm really pleased with it so far. |
|
|
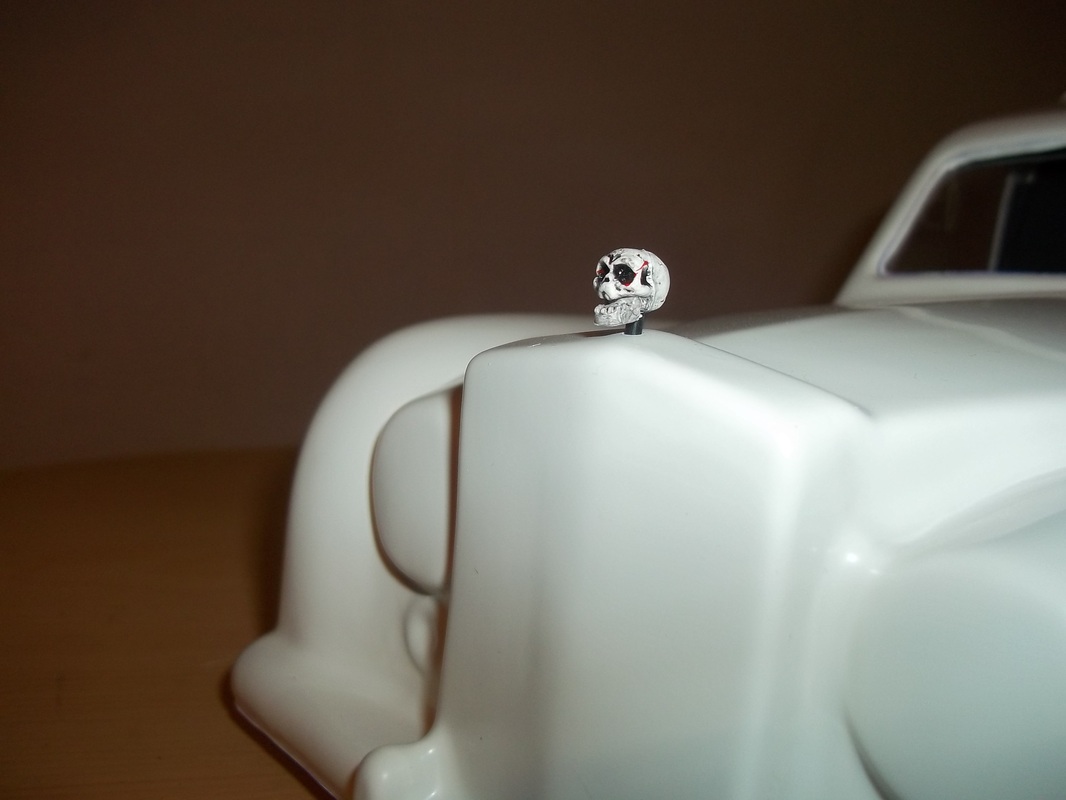
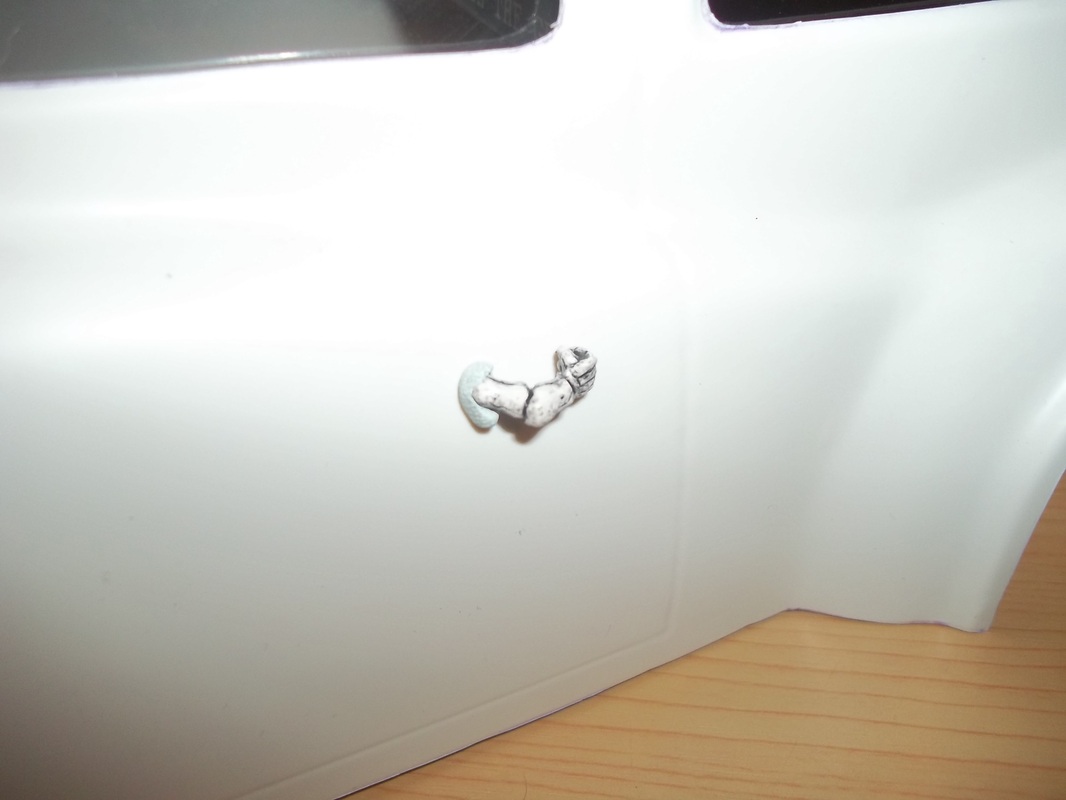
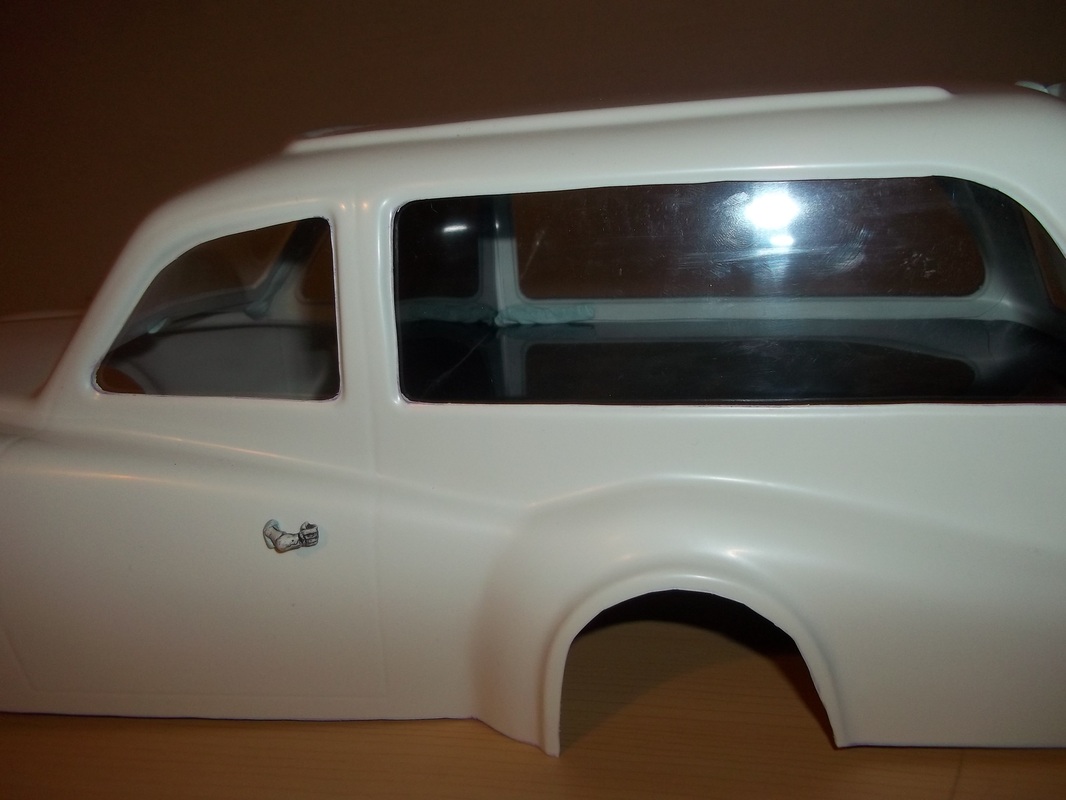
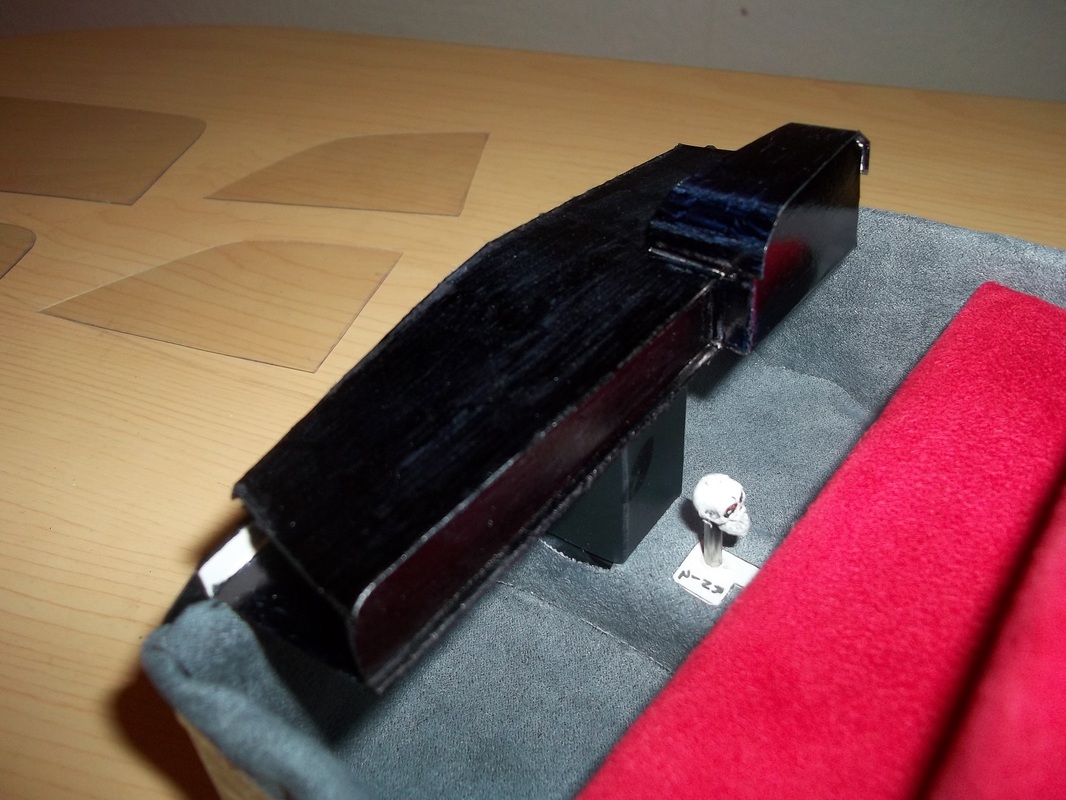
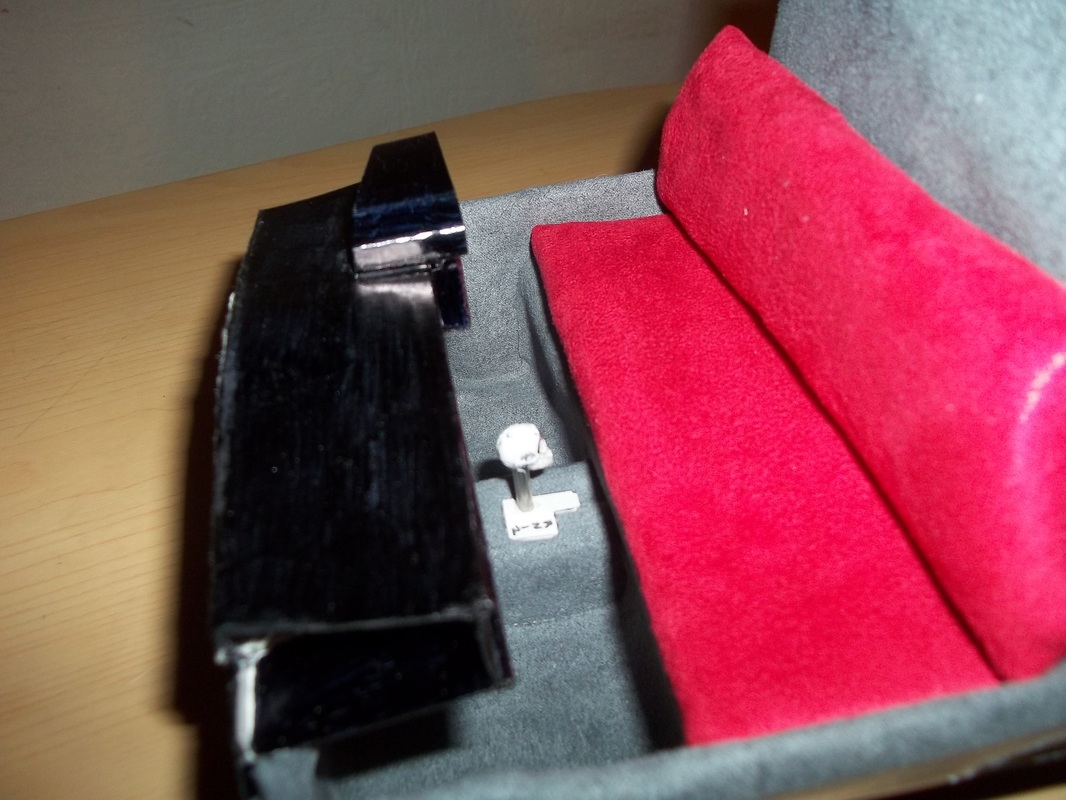
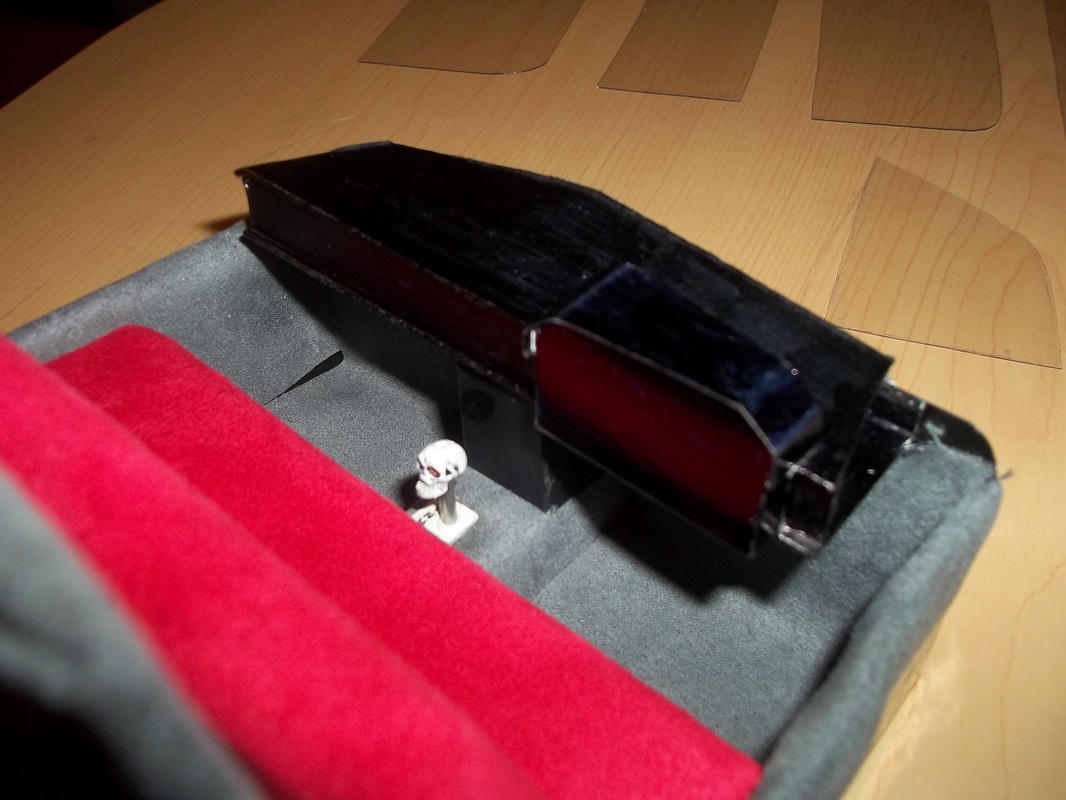
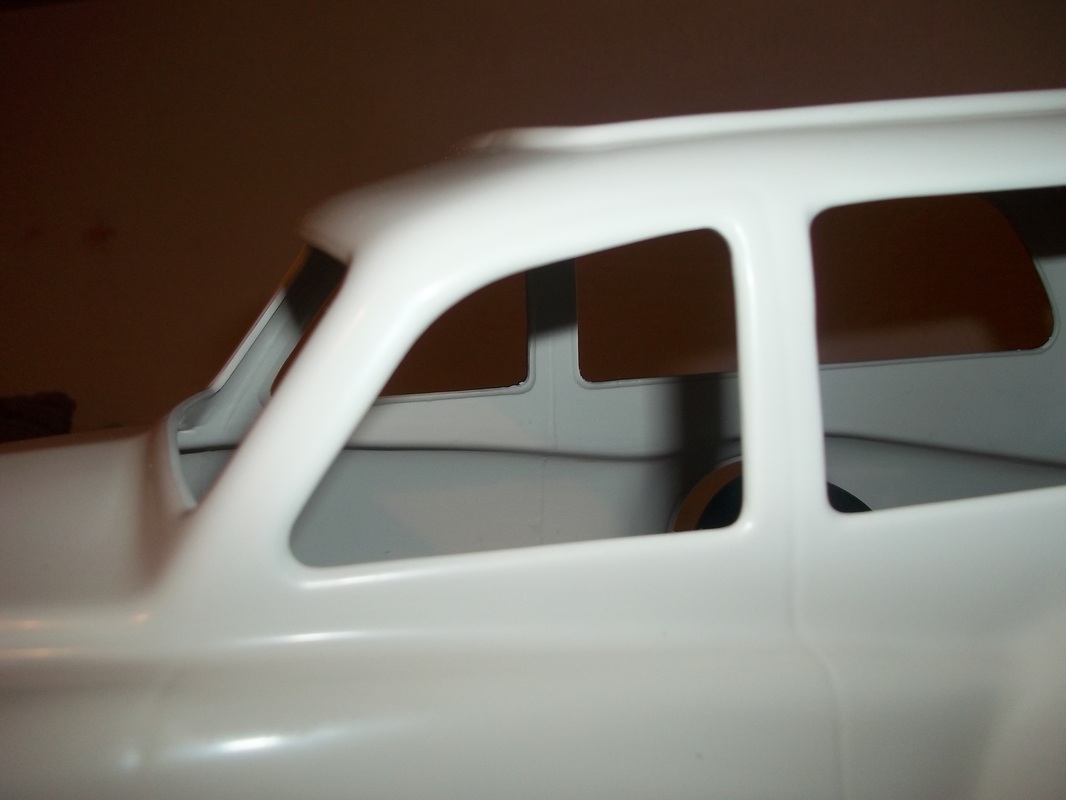
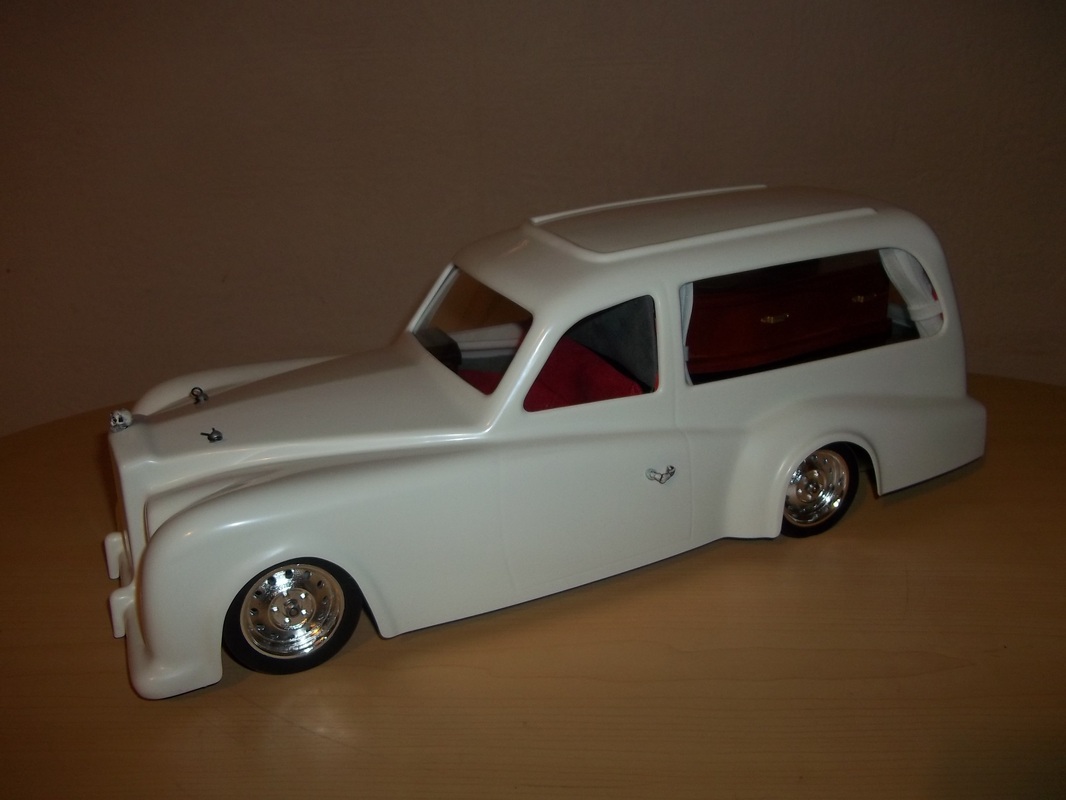
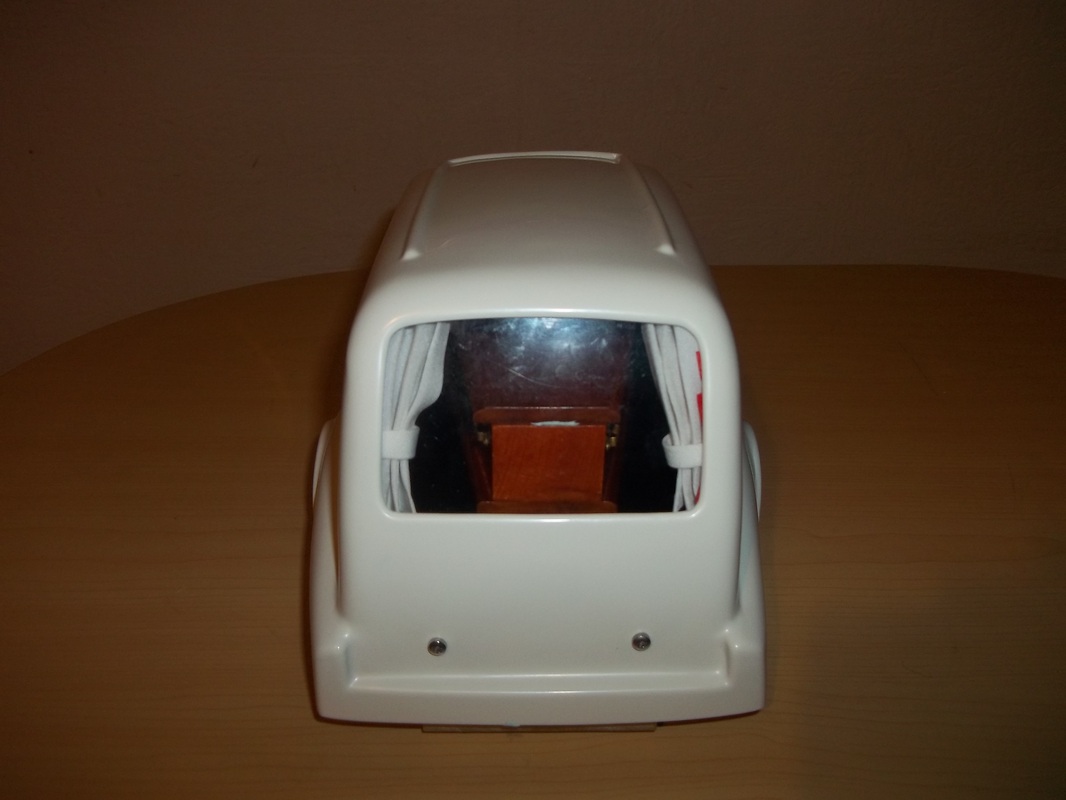
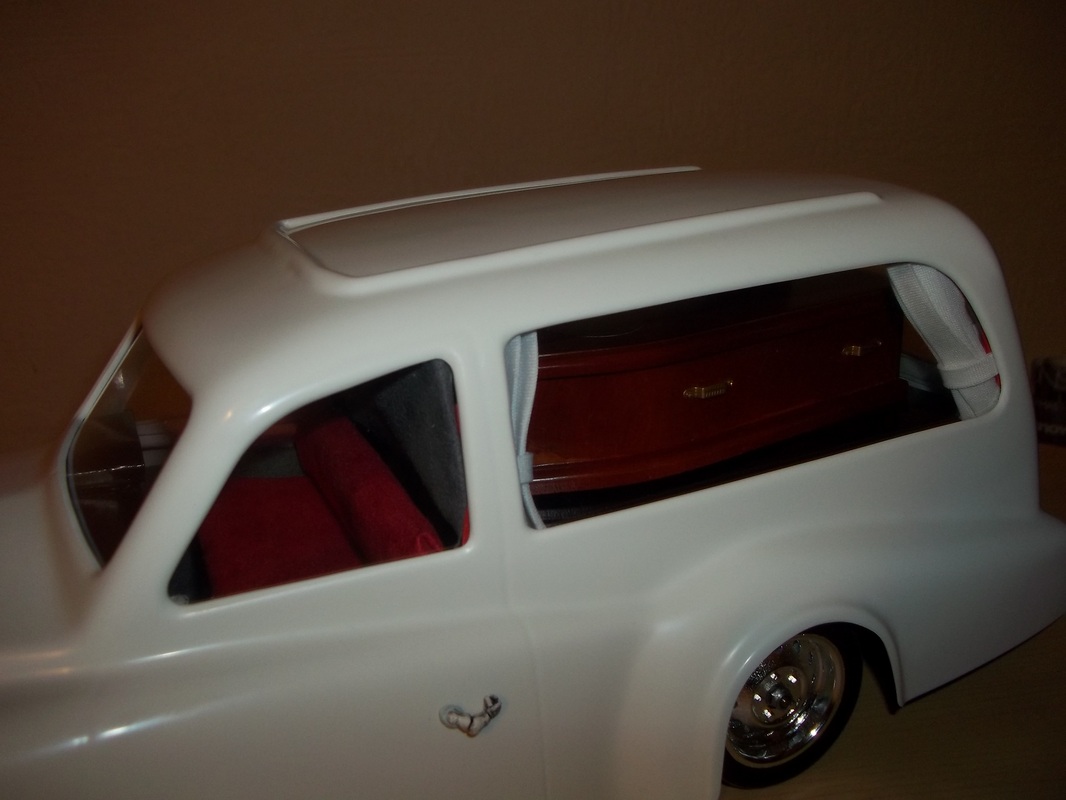
Now the chassis has been finished I can start on the shell, the first thing is to cut out the wheel arches, windows etc, I will sand down all the cuts to make them smooth and even after I have finished all the cutting. The shell is going to have a ghouls and ghost type theme in black and dark purple with plenty of spooky looking extras added. I've made a skull hood ornament and bone arm door handles. I've made a rear bed plate for the shell for a coffin to sit on and used some clear lexan for the windows. |
|
|
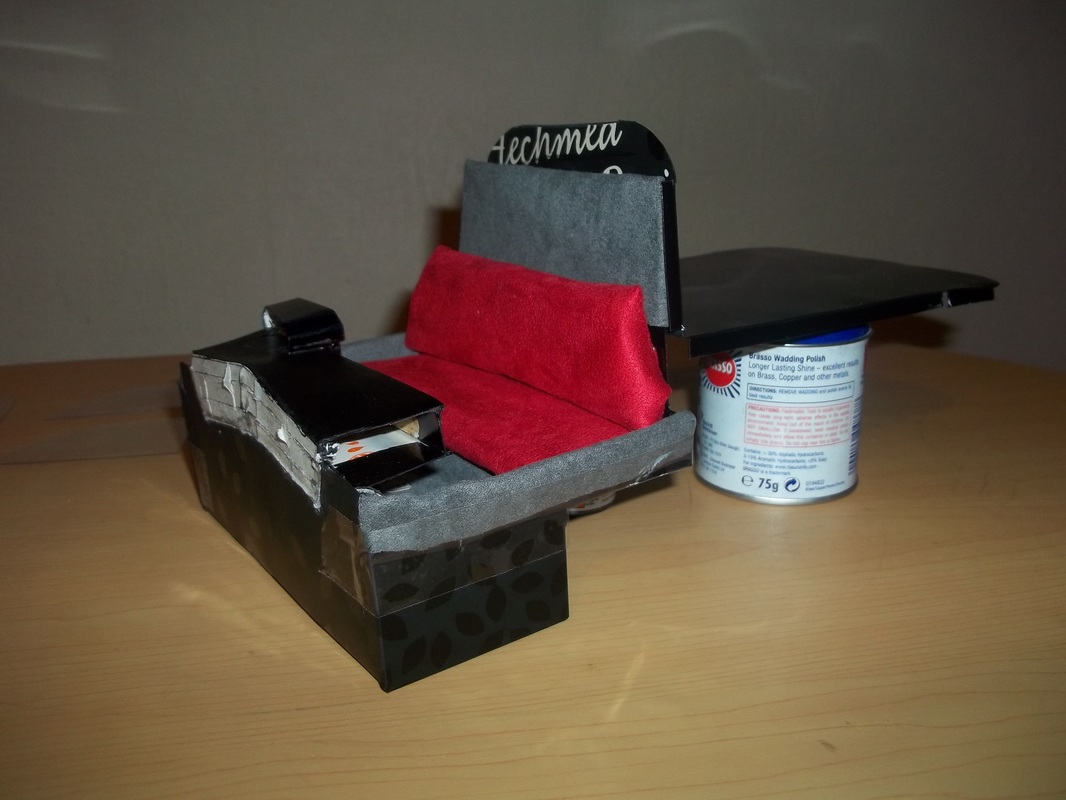
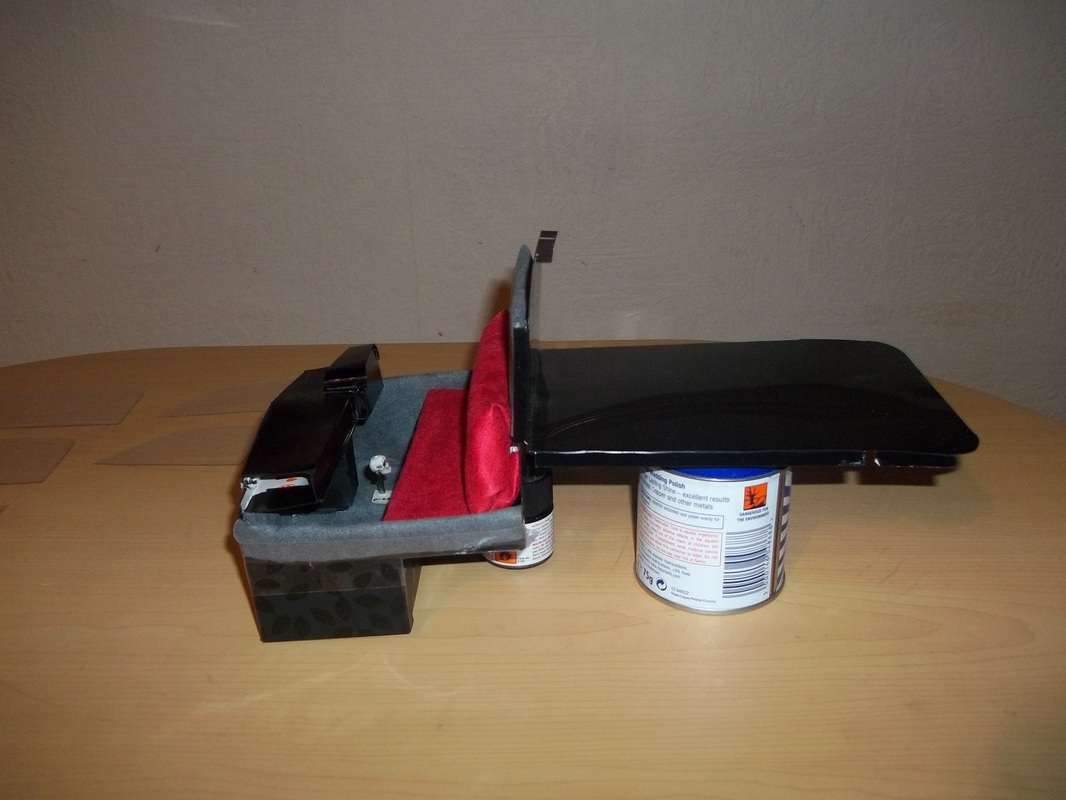
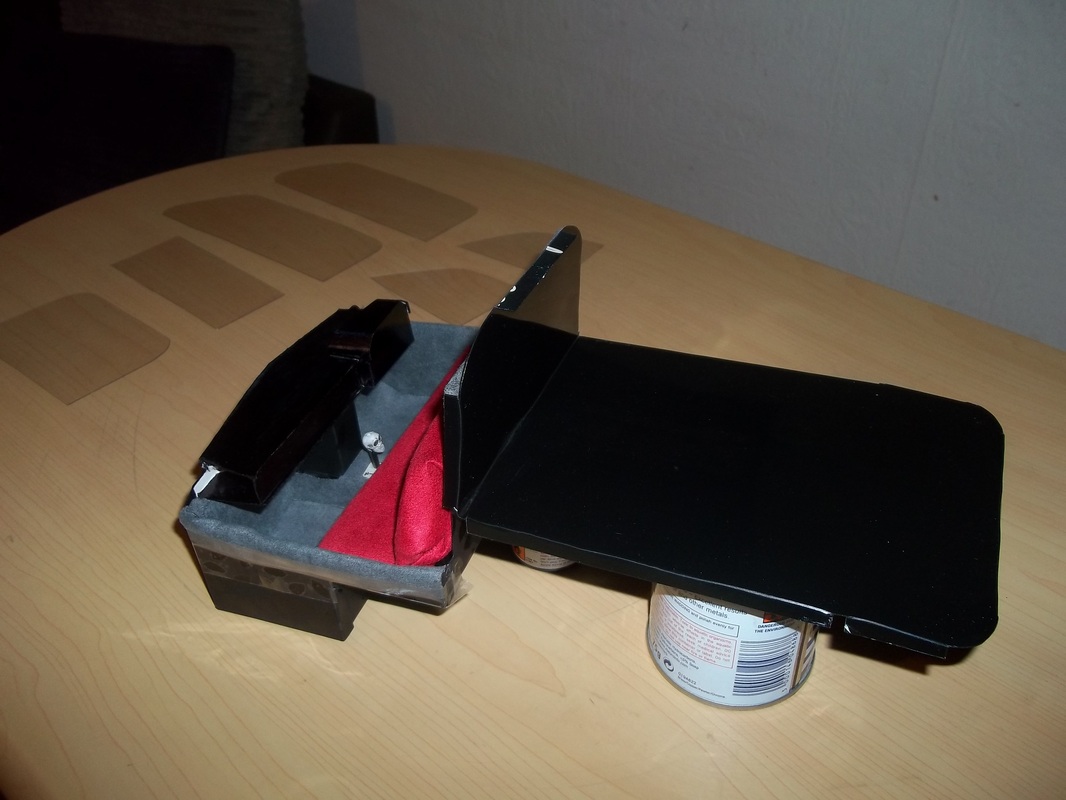
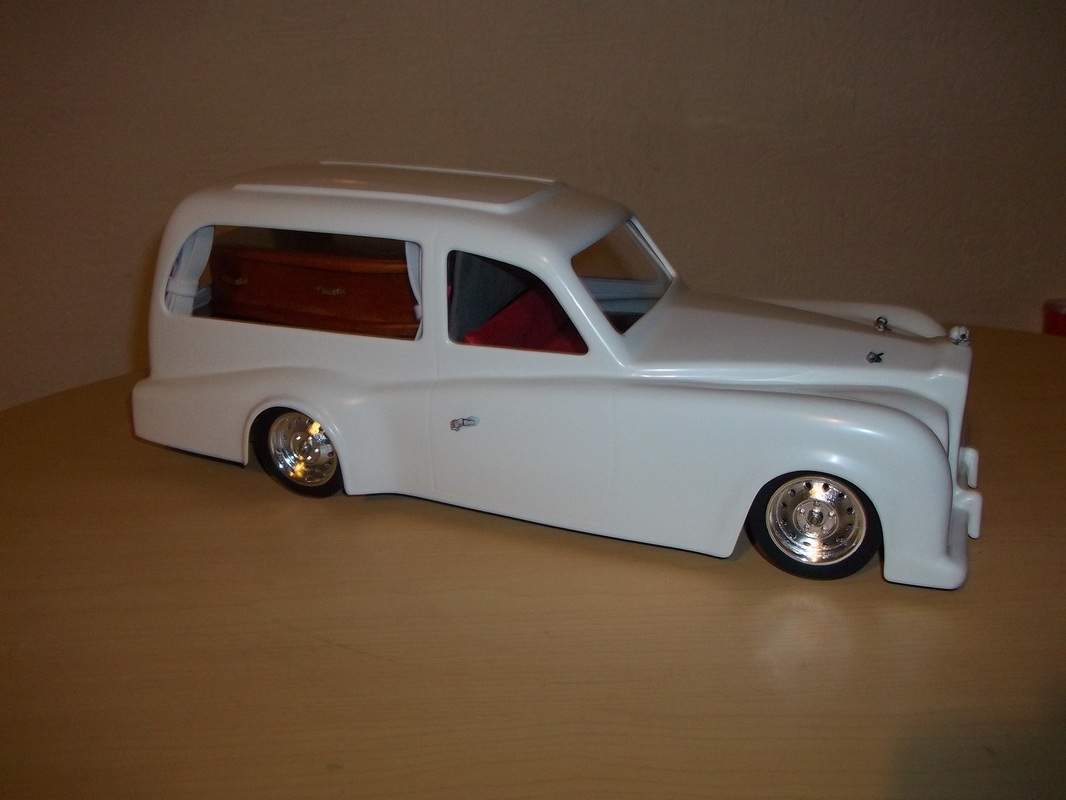
I've been designing an interior for the shell as this model is going to be purely a display piece, its still in its beginning stage and I have plenty of work and finishing touches to do before its completed. I made the main cockpit area out of black lexan and the dash out of cardboard coated in glue for added strength, I'm using suede for the carpets and seat covering, I made the seats using foam with plastic backs to attach the suede to. Once everything is mocked out I will strip it down and spray it matt black then glue everything into place and finish it off with some speedo, radio etc decals. |
|
|
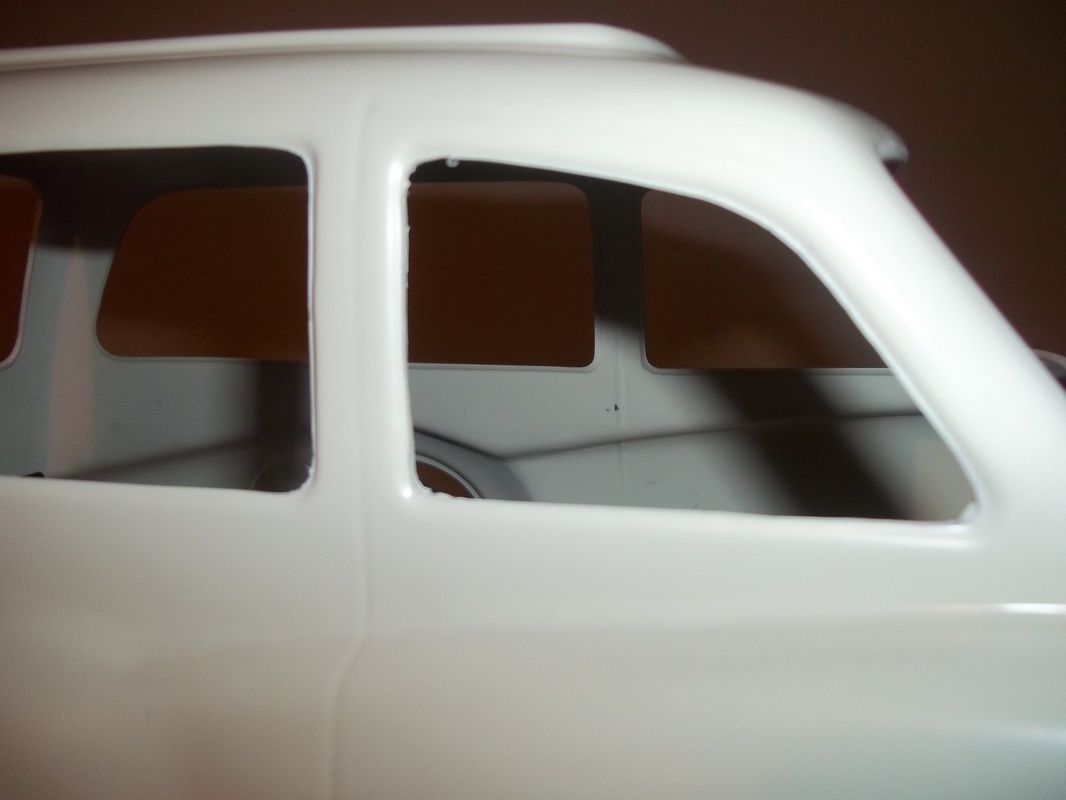
I've mounted the shell onto the chassis now and have sanded all the wheel arches, windows and edges to get them all smooth and even, the last two pictures show a sanded smooth window and an unsanded window so you can see the difference, its very time consuming to do but well worth the effort as it makes the finished model look a lot better. |
|
|
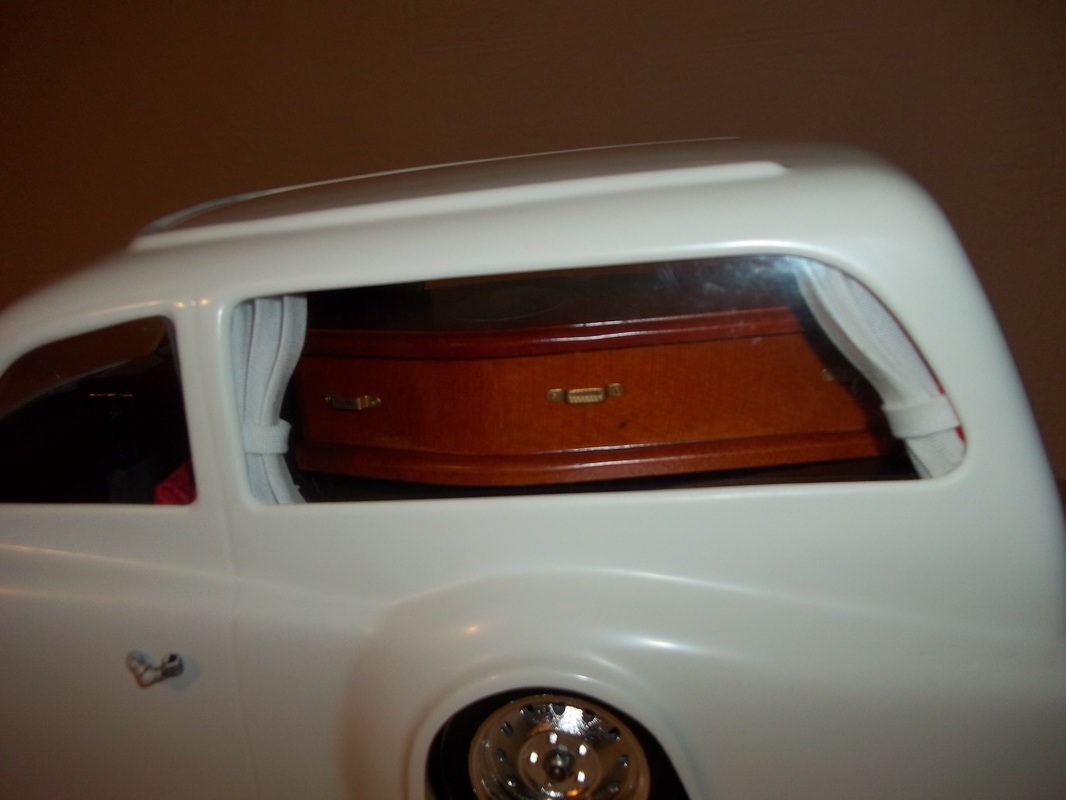
All the mock up is now complete, the curtains and poles have been test fitted as has the coffin. The next stage in the build is to strip the shell down and spray the interior parts black then glue all the carpets and seats etc in place and then have the shell custom sprayed by Chingy (please see the useful links section) then its on to the next build. The final pictures of the hearse will be in the V12 gallery section once its complete. |
|
|
Desc
|
|
