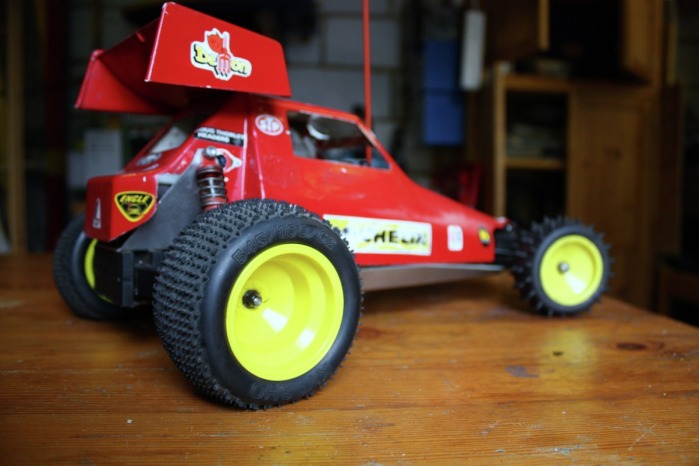
After the engine these are the next most important / frustrating bit. The official wheels are hard to source, the push-on feature makes them vulnerable to becoming loose & useless, the later ones (I think they were later) were plain - for the foam tyres which are probably not so good on grass, the knobbly rear tyres loose thier spikes quickly on hard surfaces. But there are alternatives & simple fixes. This page will be all about that. If you have solutions to these problems, send them in & I'll post them here pics would be good (just email on the contact page).
Fix for those pesky spinning back wheelsSimple fix to sort the wheels when (or before) the back wheels start spinning in their sockets.
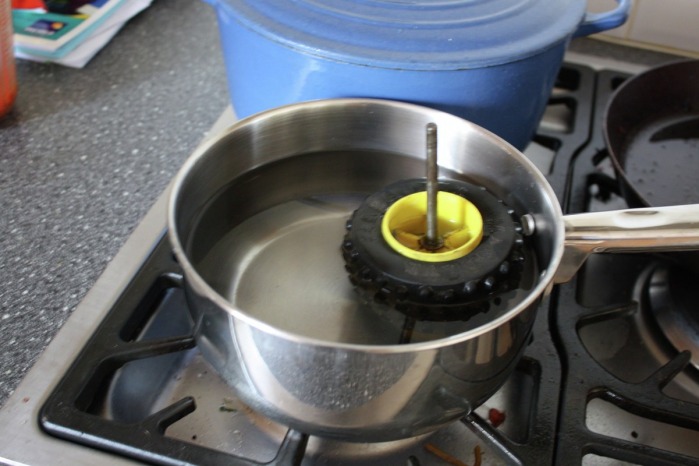
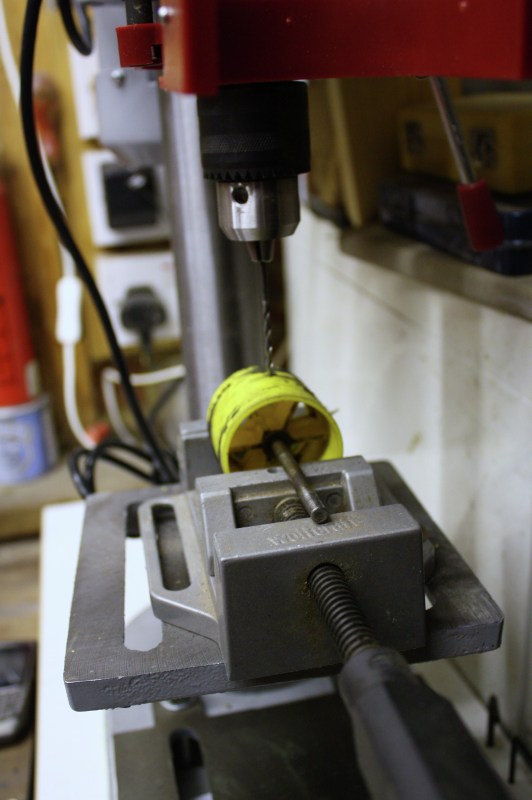
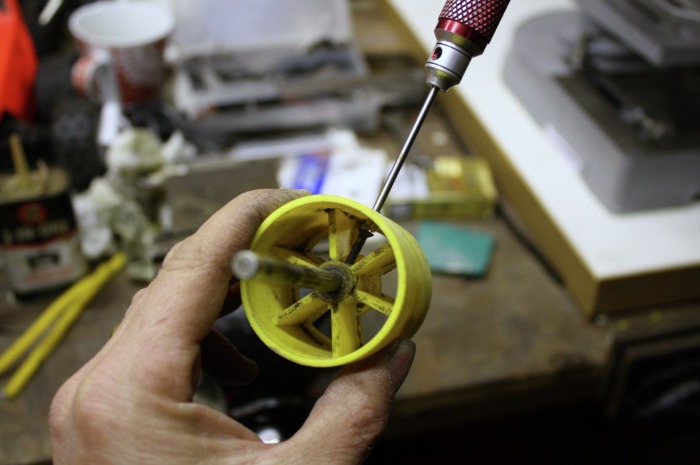
1. If the tyres are glued on (with super glue) I read somewhere that boiling the wheel tyres helps loosen the glue. It seemed to work. The rubber became very pliable anyway. 2. Drill a 2.5mm hole straight through the wheel (you can put tape over the hole after, if you want the wheel to keep its air when you hit bumps). I find that 16mm in from the inside edge of the whel is about right - but do measure for your wheel. 3. Tap an M3 thread. 4. Put an M3 allen key screw in. This way you can get it out when the tyre is glued back on. Quick and easy - very pleased with the result. |
    Click on the thumbnails to enlarge
|
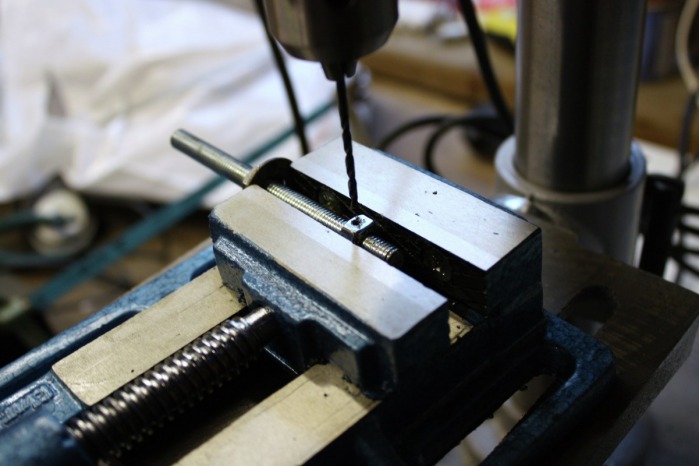
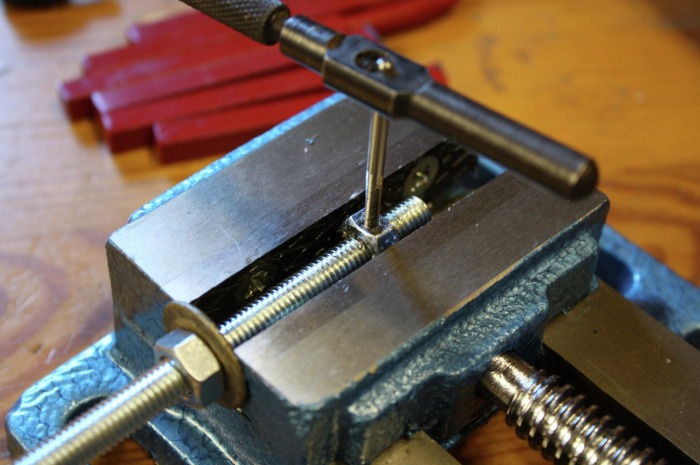
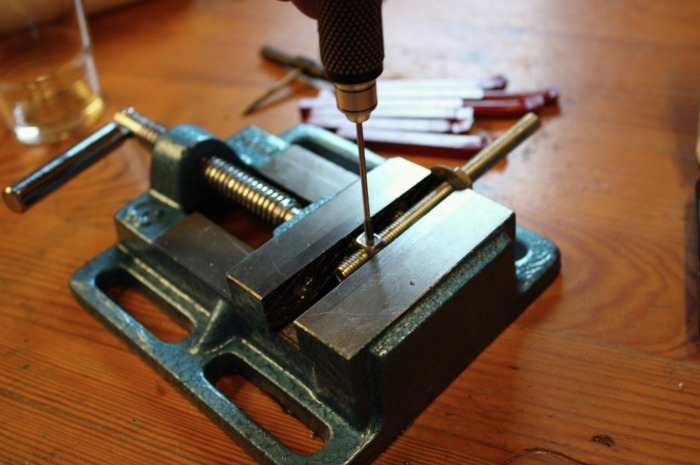
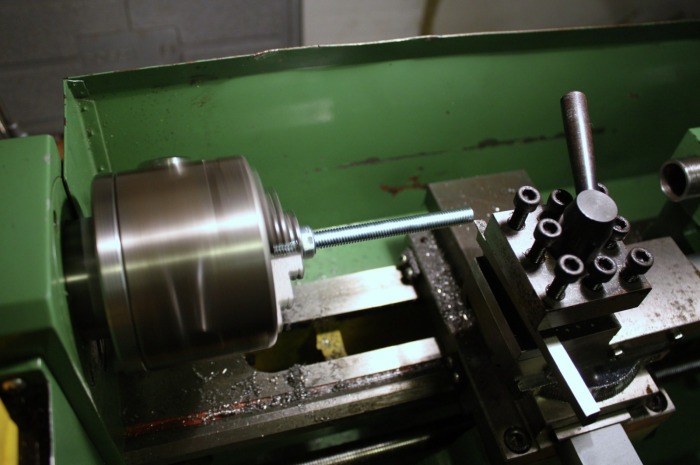
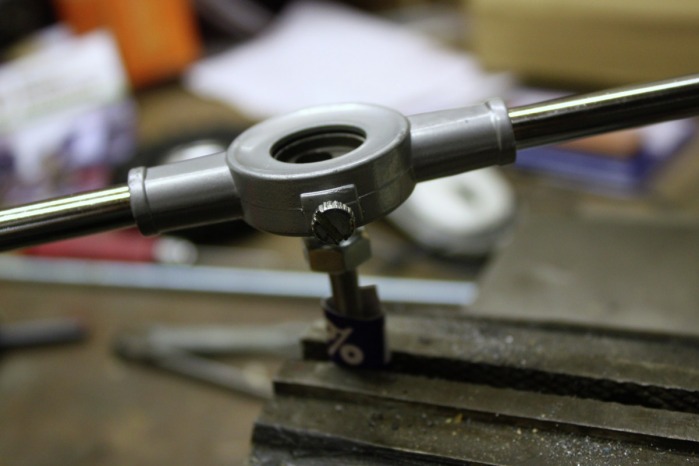
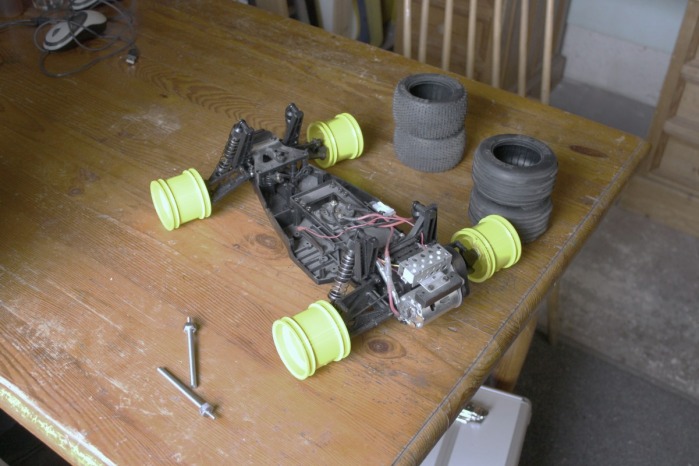
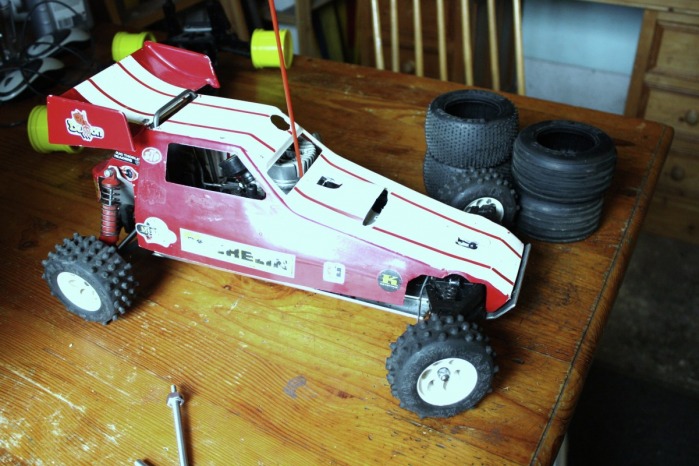
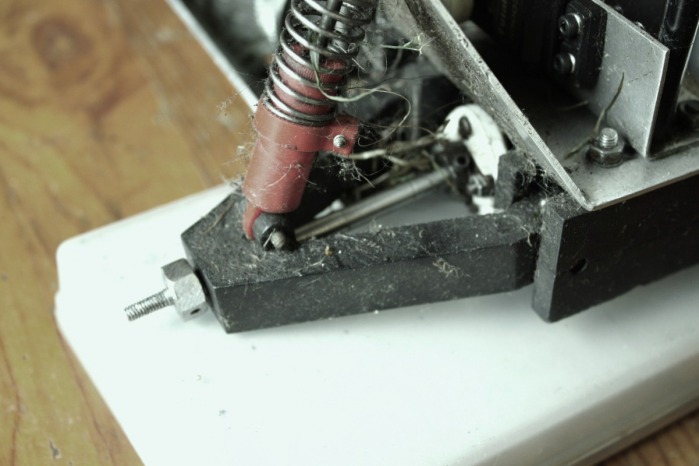
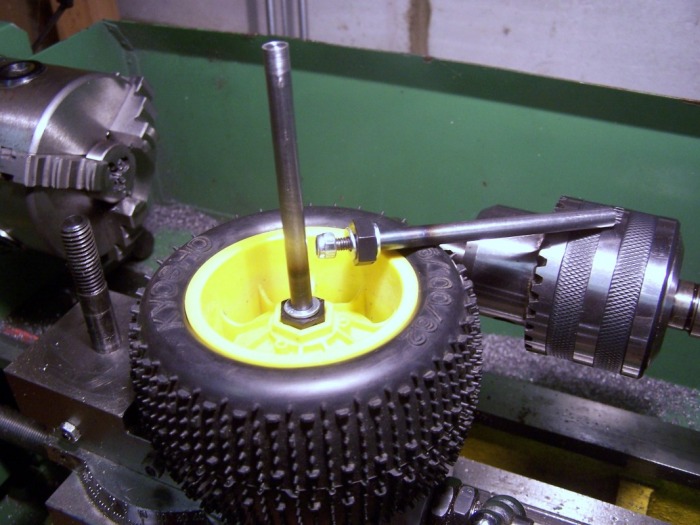
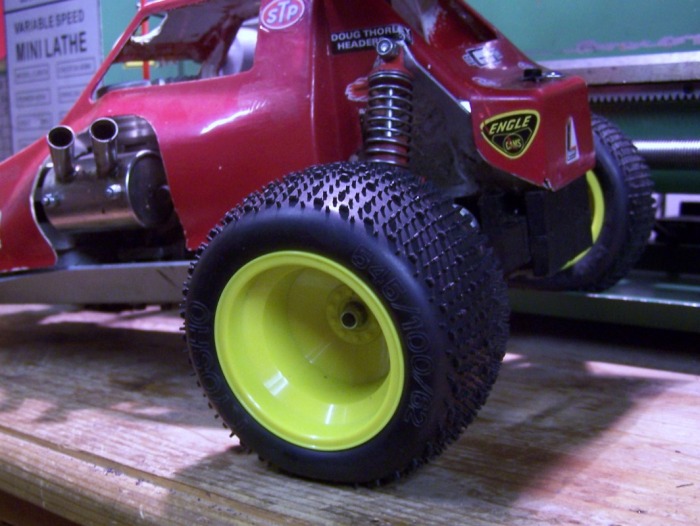
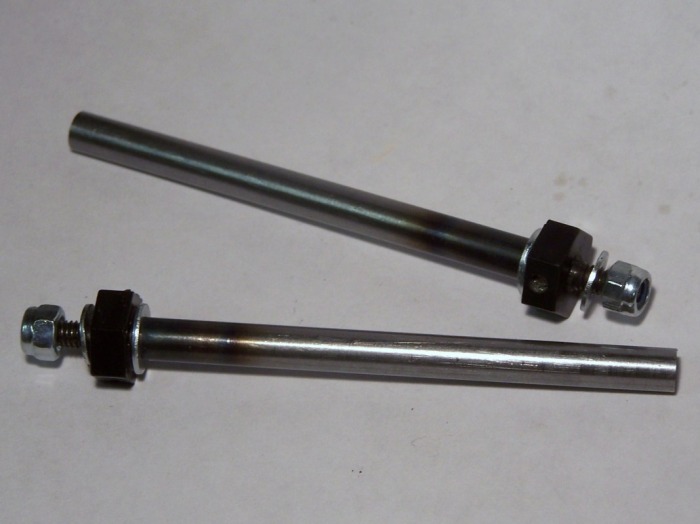
Home made axles with 12mm hex fittingThe fact that the new wheels and tyres cannot be bought can be a serious shortcomming of these great little cars. Even though the wheels can be fixed by putting a scew through, if the knobbles wear off the rear tyres, or the rubber cracks, you've still got to source some more old Mardave ones. I've had this idea for a while - why not make some new axles to get over the problem?
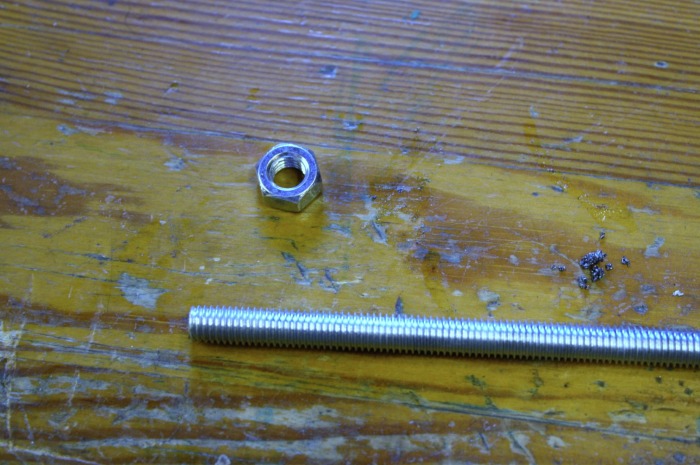
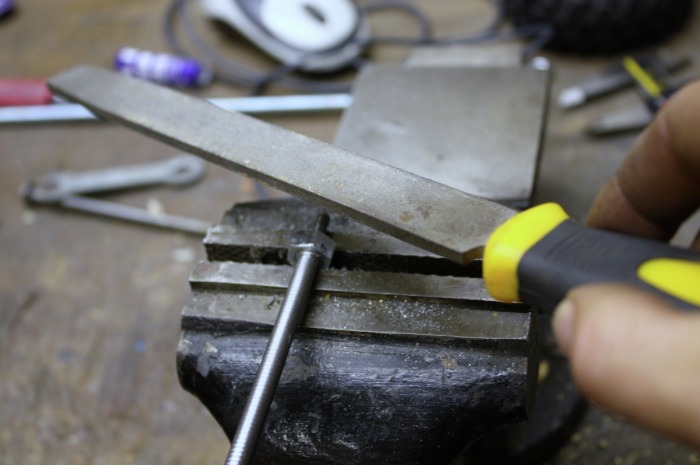
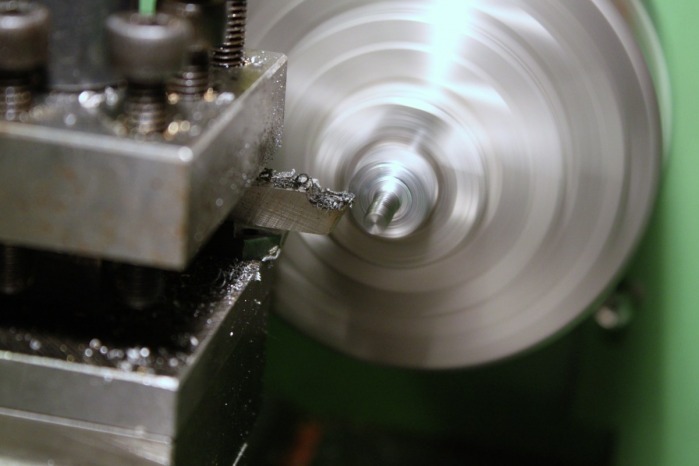
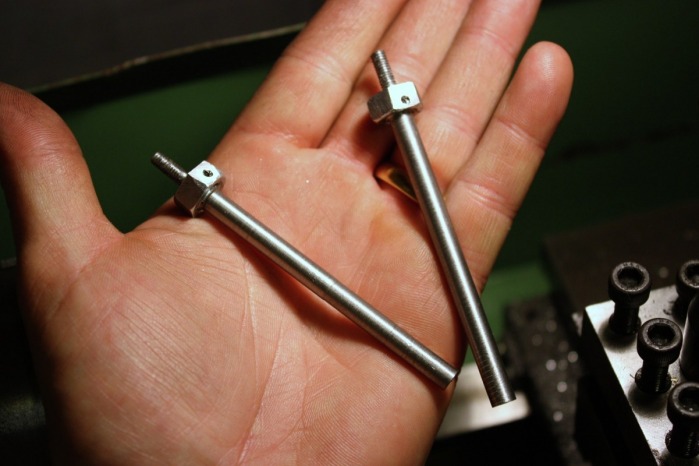
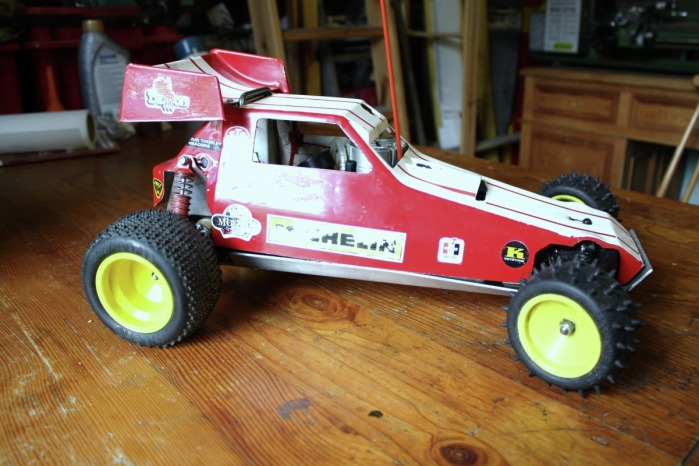
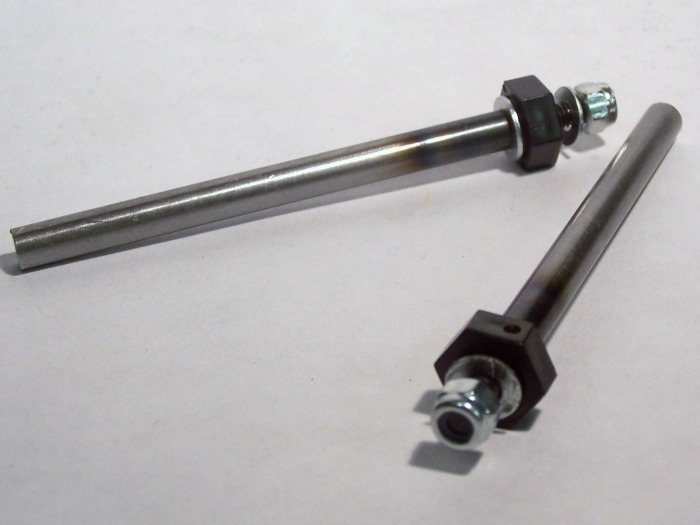
To do this I needed a drill stand and a mini-lathe. I've wanted a lathe for while, so I've just bought a second hand one on E-bay and this is the first job on it. The steps are shown in the pics: 1. Start with a length of M8 threaded rod and an M8 hex nut. 2. Mount in the drill vice (notice how it is held straight with another nut and a washer) and make a 2.5mm hole. 3. Tap out the hole with an M3 tap. 4. Insert a 10mm M3 grub screw. 5. Put in lathe and cut long part of shaft down to 6mm (I did use the centre drill and use the live centre to hold it straight). Reverse and cut the shorter end down to 4mm. 6. Use an M4x0.7mm die to cut the thread for the wheel retaing nut. 7. File 0.5mm off each face (the nuts are 13mm diameter) until it is 12mm between each face (I used a dital caliper to keep checking). 8. Put back in the lathe and face the front off (this will ensure that the wheel spins true) 9. Job done. Each axle took about an hour. Filing the nuts down was the hardest part.I'll put some picks of one of the cars with standard Kysosho wheels and tyres when I next update. 10. I wanted to use the back wheels from an old Kyosho buggy that I have hanging around in the loft. 11. The 'before' picture. 12. Axle installed. 13. - 15. new boots on! Tested the car in the garden. No bounce (as the axles are much straighter) and phonominal grip - even though the tyres are not glued on. Overall a big success! Update. 16-19 I've made a new version (which is much better and quicker to produce) using stock 6mm mild steel (which I hardened at the end of the process) and commercially available nylon hex nuts. I'm going to put some of these on E-bay to test the interest. |
                   Click on the thumbnails to enlarge
|
