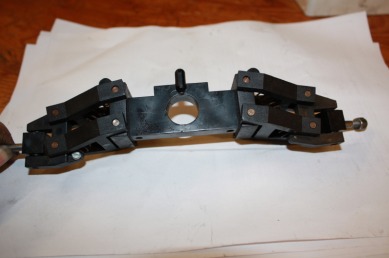
For the next marauder that I am going to work on, I am going to keep a photo record of each step of the 'restoration' - usually these take me a couple of evenings, but it will takie longer if I keep stopping to take a picture. I intend to give a running comentary - which might interest people that are new to all of this.
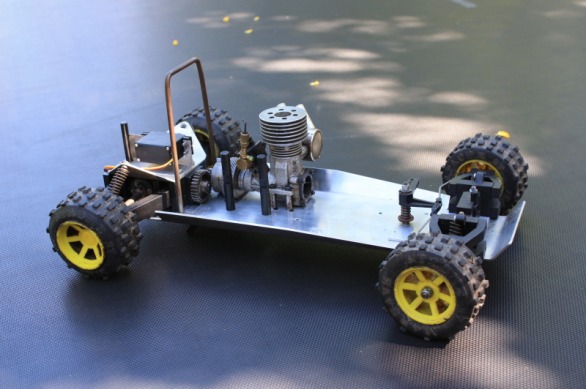
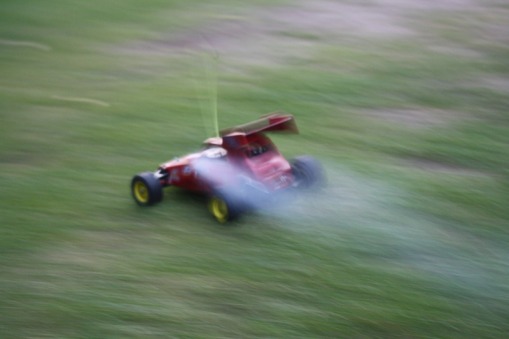
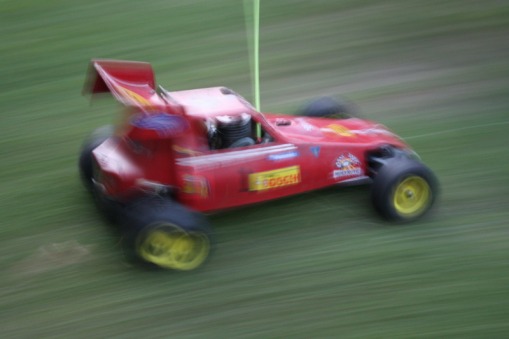
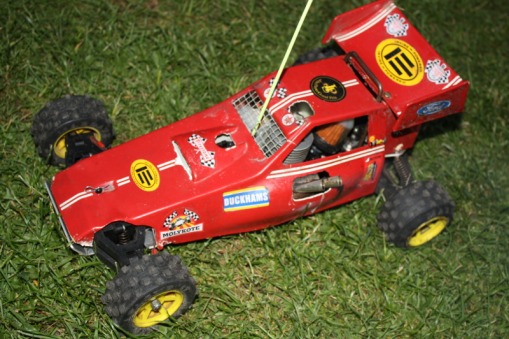
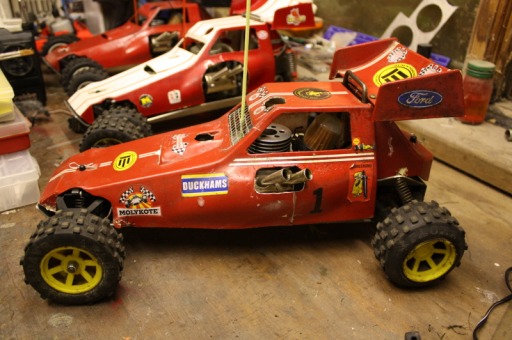
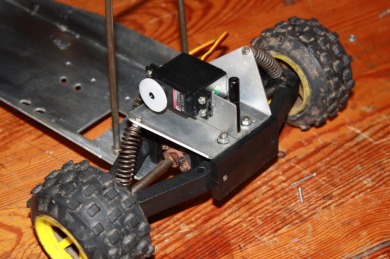
The finished article
The total time taken was probably about 4 hours - plus stopping to take pictures. The main advantage was that I had a ready stock of parts to choose from. Having built a couple already I knew what to do. The following notes are not really for the expert, but perhaps someone new to the hobby or unfamiliar with this type of car.
|
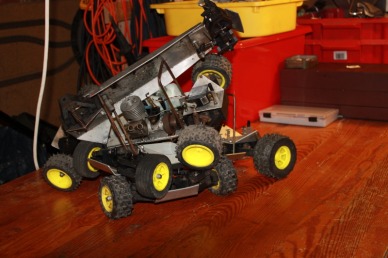
The starting point was to gather the remaining partly complete cars and parts that I have collected over the last few weeks. I have bought each of these from E-bay for between £30 and £50. Each one was about 75% complete, with the other parts either broken or missing.
|
 |
|
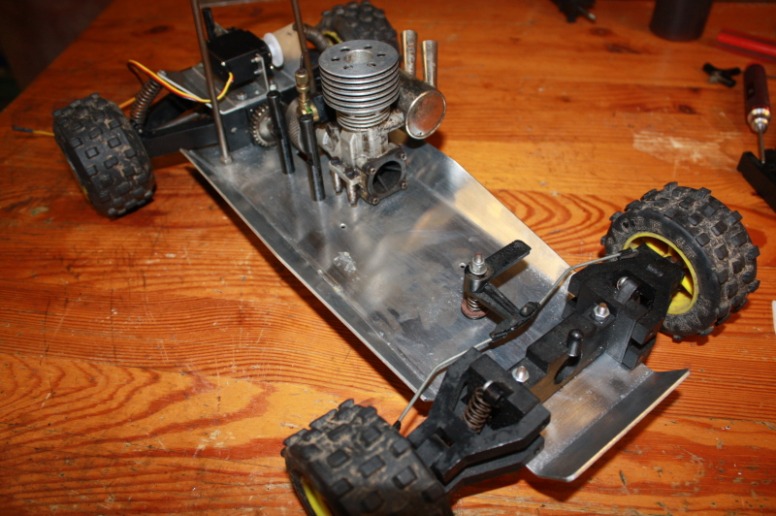
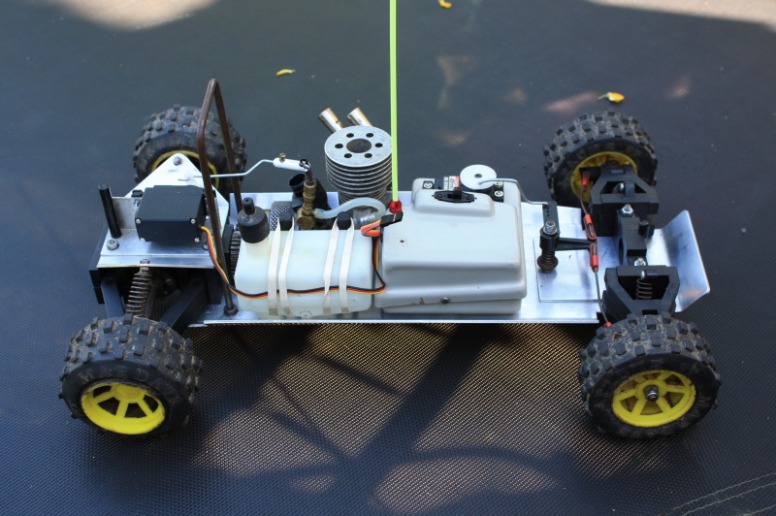
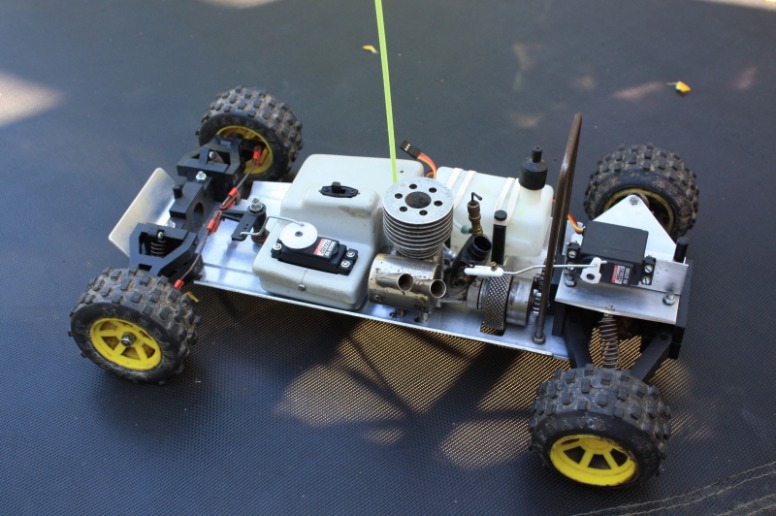
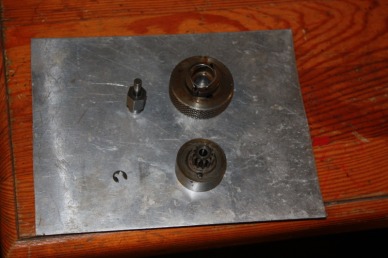
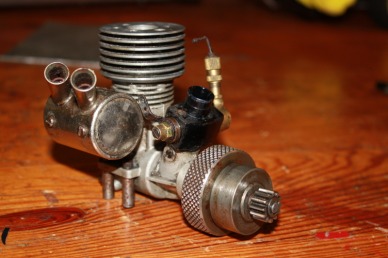
The engine is as good a place to start as any. The flywheel assembly was loose so I needed to fix this. It all comes apart easily enough, once you remove the retaining circlip carefully with a small screwdriver. Be careful that this doesn't fly off - never to be found again - a confined space, like a tidy bathroom is a safe bet! There are only a few parts to this - the flywheel, the metal clutch arms, the two springs, the shaft (which screws on to the crakshaft on the engine, the bell housing (with the toothed gear) with a replaceable liner, the roller bearing and the circlip. The roller bearing may need oiling, but be careful not to spread all over the inside of the clutch.
|
 |
|
This car is going to get one of the Irvine .20 engines with a standard Marauder dustbin silencer with srews through the side. If you want a really clean car after a run, then some sort of gasket would be good. I didn't bother. The bolts and engine mounts are an imperial size (4ba) and it is worth getting the righ sized allen key - as a metric one will just burr the bolts. If the bolts are worn, get new ones. This engine doesn't need a pressure feed from the exhaust - so if there is a nipple either replace it with a screw of the same size or attach a short length of fuel tube, with something blocking the end.
|
 |
|
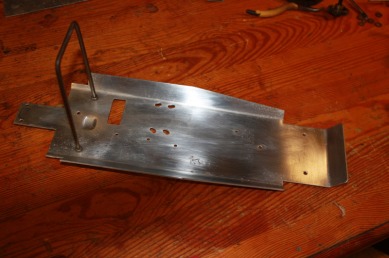
The chassis cleaned up nicely with a little wire wool. This one was already straight, but the bend easily in a crash, so worth checking at this stage & gently straightening out with a vice mole grip etc - being care ful not to induce metal fatigue or cuase unsightly marks. The roll bar is held in place with imperial sized nuts (unlike the rest of the car which is nearly all metric from now on) - 10/32 UNF. This chassis had been drilled to take the larger Super Tiger, OS or Royal 21 engine, but a couple of extra washers under the plate still held the Irvine 20 in nicely.
|
 |
 |
 |
 |